Create a Personnel File
To hire a candidate, you have to create a corresponding personnel file first. Following this, the employment contract is prepared, and finally placed in a contract file.
The "Personnel Files > Employees" Module
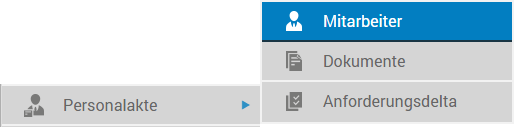
Personnel files are created and managed in the Personnel Files module. To create a new personnel file, in the navigation pane, choose the Employees sub-outbar via the Personnel files outbar.
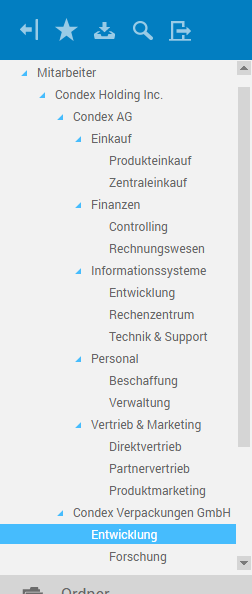
The corresponding folder tree appears in the navigation pane above the outbars. The structure of the Employees folder tree is identical to that of the Job postings and Job applications folder trees. Creating the new personnel file is analogous to job posting and job application in the Condex Packaging, Inc./Development folder.
Create a personnel file
In the workspace, the content of the folder is displayed in list view.
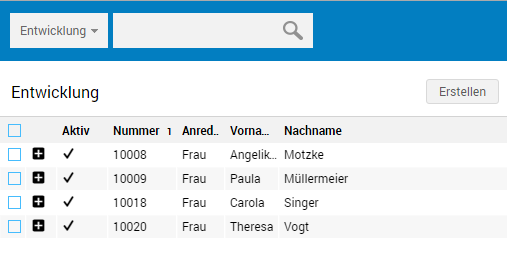
To create a new personnel file, choose the Create button contained above list view.

In the details pane, a new file named Employees opens. When opening it, edit mode is enabled, so you can immediately start entering data. The different tabs now allow entering the corresponding information.
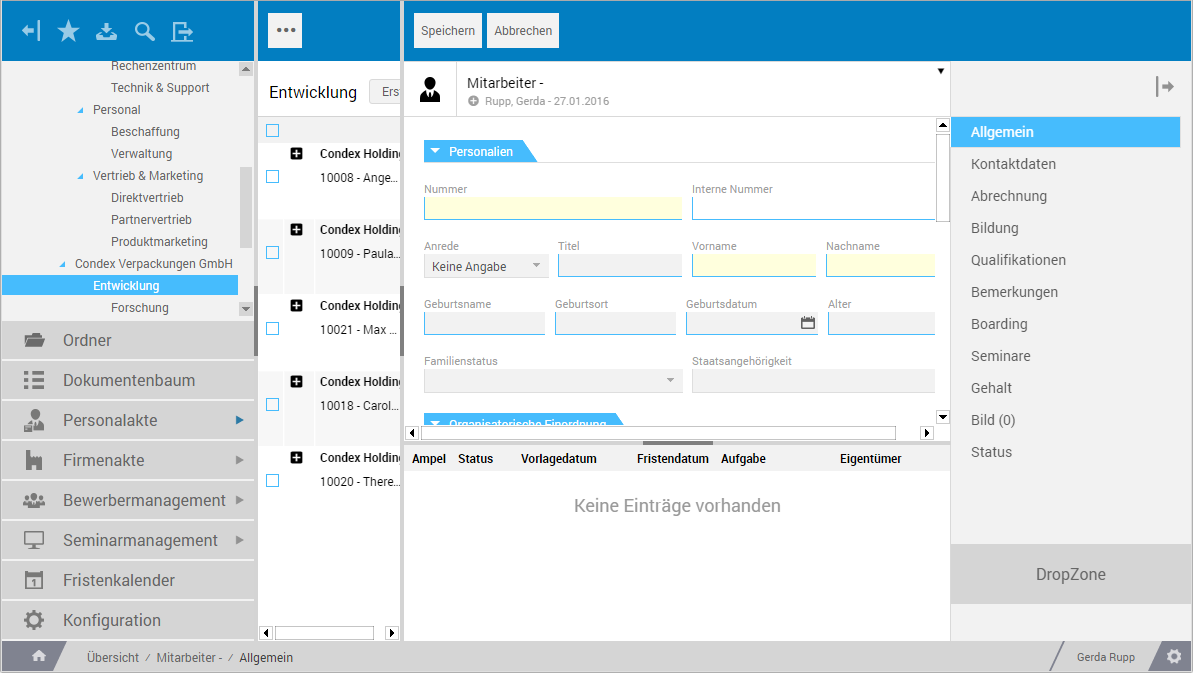
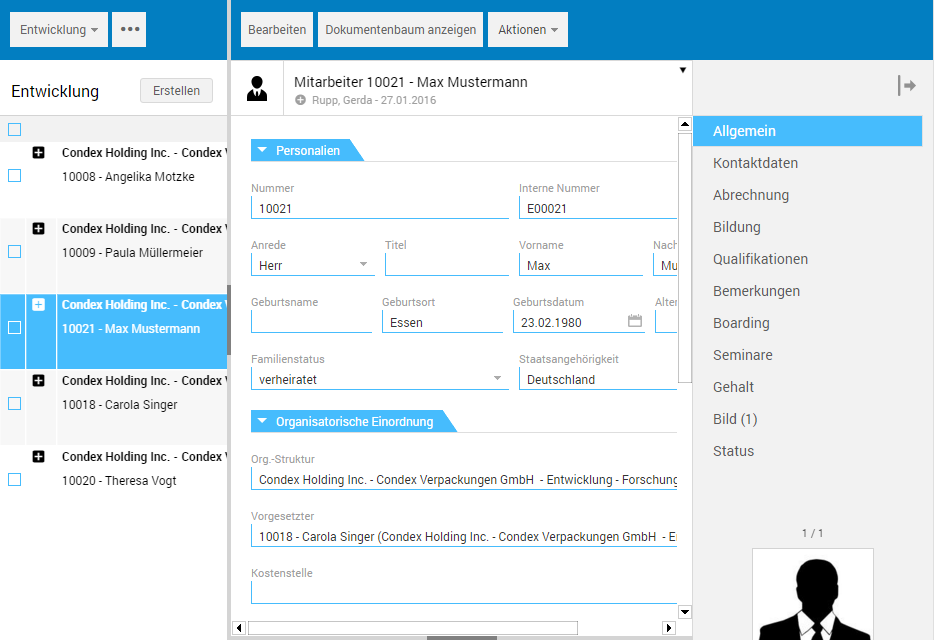
The "General" tab
This tab is used to enter personal details and organizational classification.

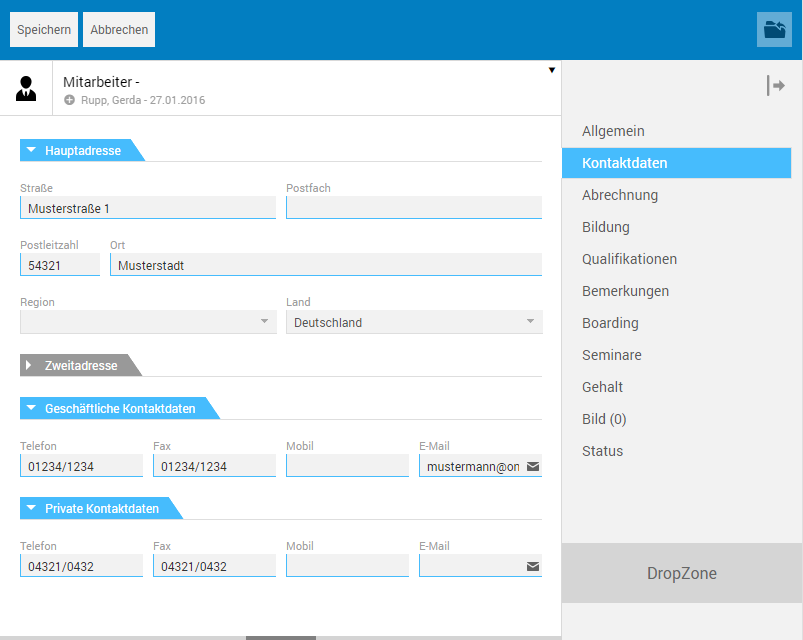
The "Contact data" tab
This tab is used to capture the address data as well as business and personal contact data.
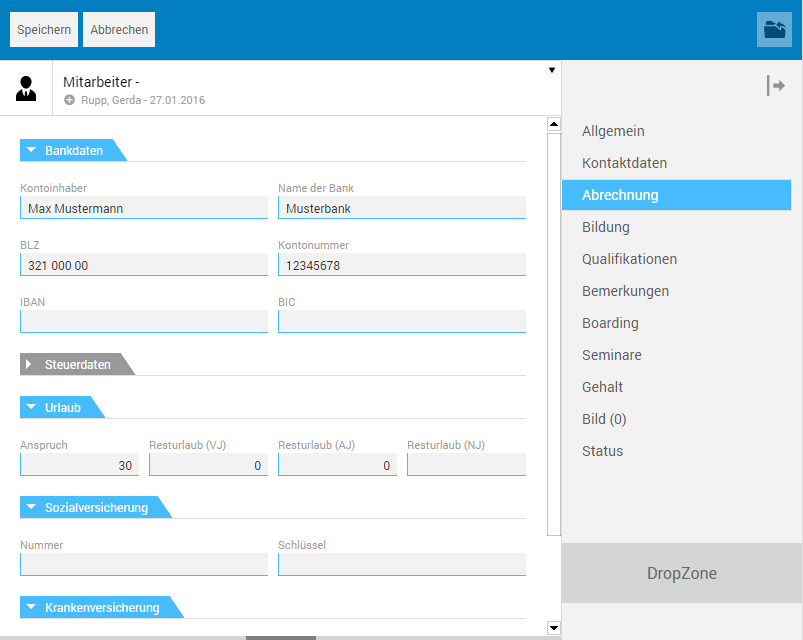
The "Payroll" tab
This tab is intended to capture the bank account and tax data, as well as vacation and insurance information.
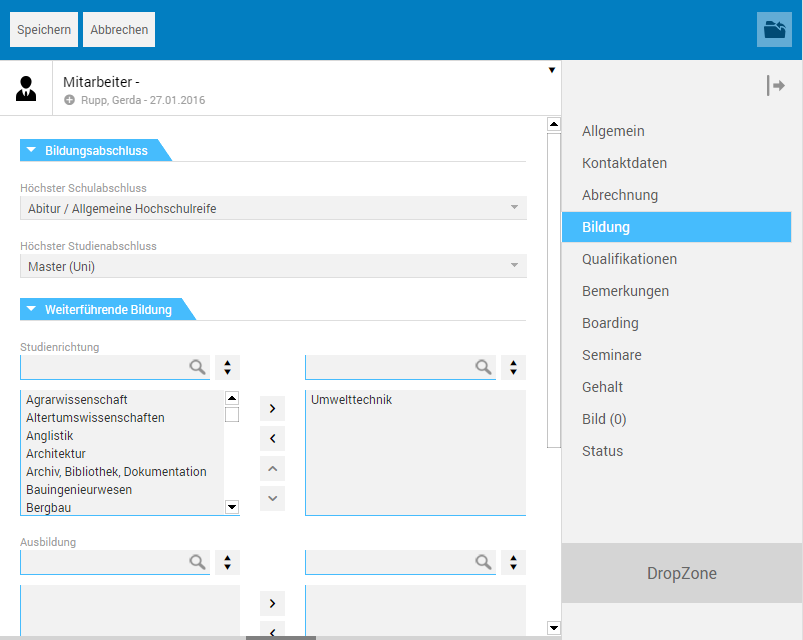
The "Education" tab
This tab allows entering information on existing academic qualifications using default selection lists.
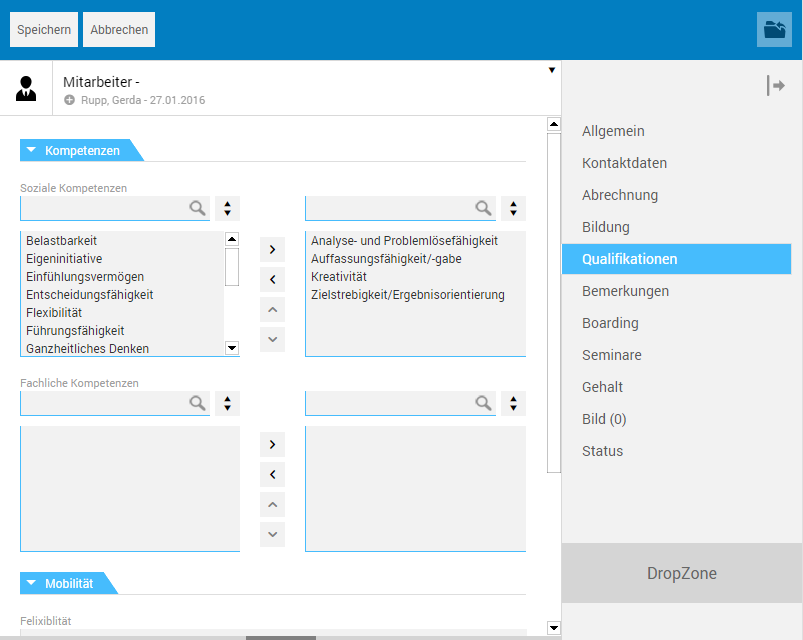
The "Qualification" tab
This tab allows entering information on competencies and mobility of the new employee using default selection lists.
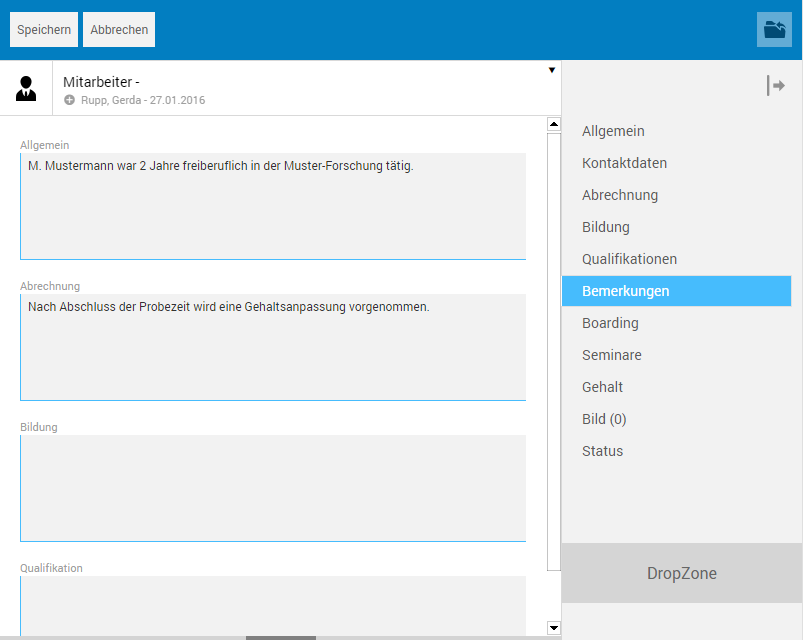
The "Remarks" tab
This tab allows adding comments about different content sections of the personnel file.
The "Image" tab
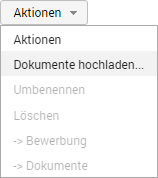
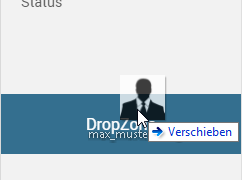
This tab allows inserting a photo of the employee into the file using drag and drop or the Upload documents action.
After inserting it, the (image) file is directly displayed.
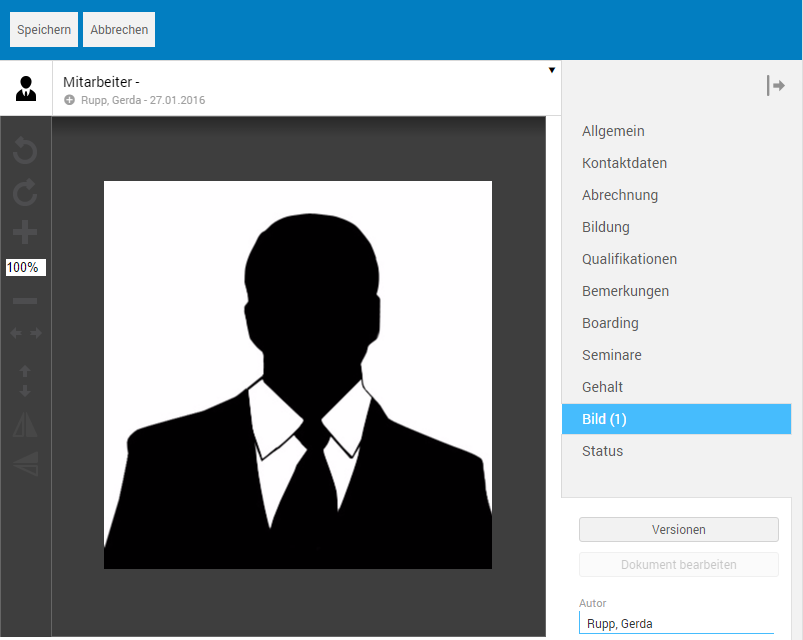
In the tab selection, click again the Image tab entry to go from file view to list view.
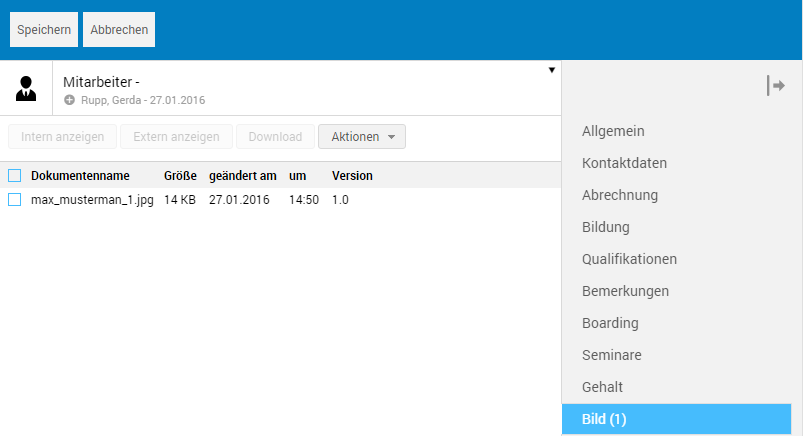
The photo is then displayed below the DropZone regardless of which tab is active.
Save personnel file
After you insert the desired data files, the personnel file edits are complete as far as content is concerned. The file can be saved via the corresponding button in the toolbar.

Edit mode automatically terminates when saving, and you are taken to view mode. Moreover, a corresponding entry is created for the new file in list view. The number as well as first and last name of the employee specified on the General tab are used for the title of the file, e.g. Employee 10021 - Sam Sample.
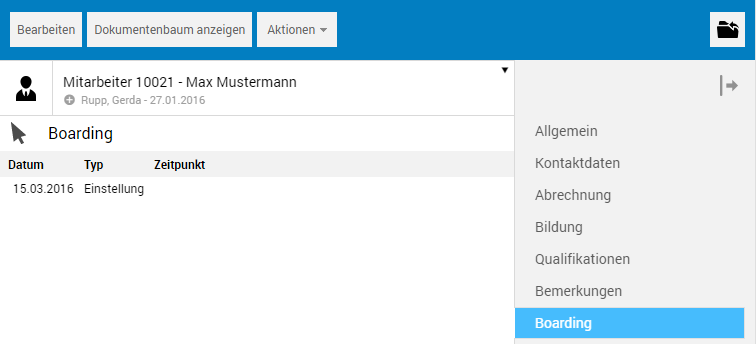
The "On-boarding" tab
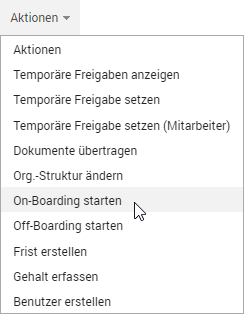
This tab is used to manage employee-related hiring data. This data is captured via the Start on-boarding function on the Actions menu.
This function opens the Hiring employees... file
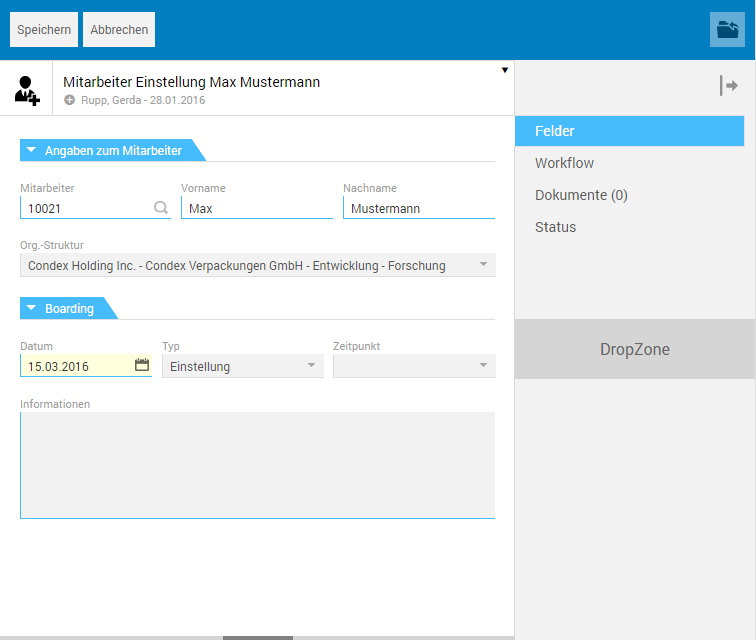
The values entered in the hiring file are transferred as a link to the tab when saving.
To edit existing hiring data, open the associated file by clicking the respective link.
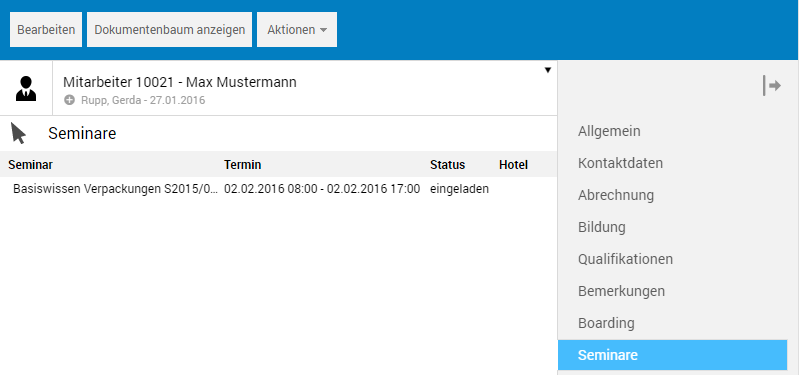
The "Seminars" tab
This tab is used to manage the employee's seminar dates. Seminar registration is performed in the Seminar Management module under Seminar dates. When saving the seminar registration, a link to the associated file, Seminar registration Sam Sample ... is automatically created.
By clicking the link you are taken to the file.
The "Salary" tab
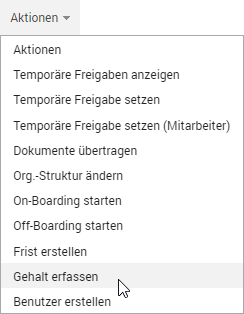
This tab is used to manage employee-related salary information. Capturing salary information is performed via the Capture salary function on the Actions menu.
This function opens the Employees Salary ... file
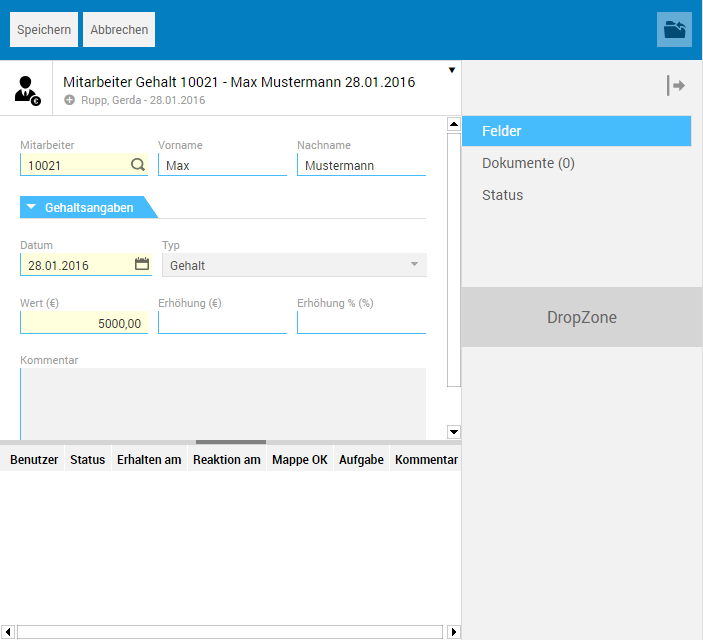
The values entered in the salary file are transferred to the tab when saving.
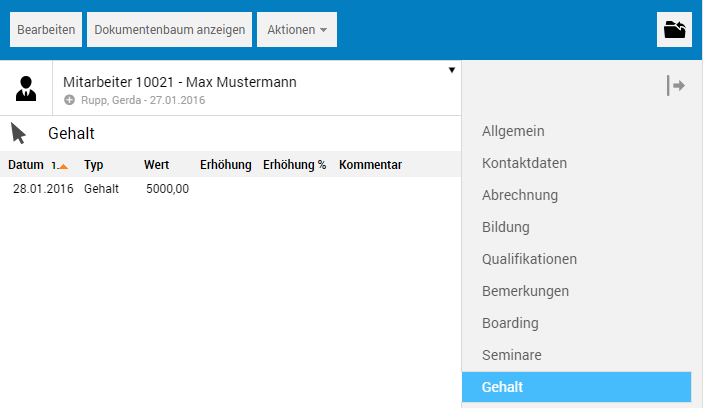
To edit existing salary information, open the related file by clicking the respective entry on the tab.
Create a deadline date
Existing deadline dates are managed by the personnel file in the area below tab view. Creating deadline dates, e.g. a deadline date that refers to the end of the probationary period, is performed in view mode using the Create deadline date function on the Actions menu.
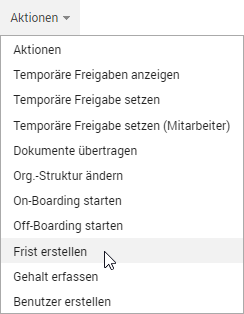
This function opens the associated dialog.
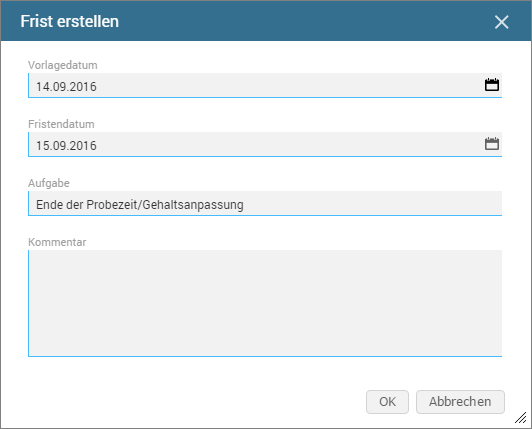
After you click OK to confirm this dialog, a file containing the deadline dates is created under the title Custom deadline date Application Sam Sample. A link to this file is created at the bottom part of details view. A traffic light system informs of the current status of the deadline date.
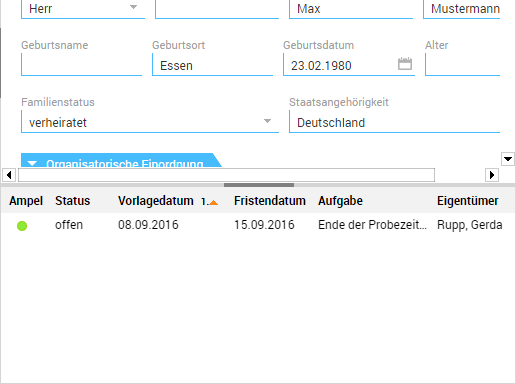
Clicking the link lets you switch to the file and edit the deadline data. This file can also be accessed from Deadlines.
All deadlines created in EASY HR are managed under Deadlines, and can be viewed and edited here.
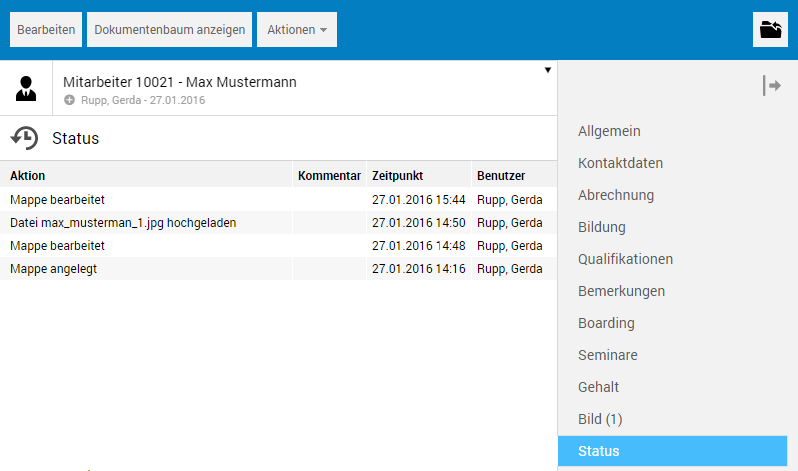
The "Status" tab
This tab is used to log all edits performed for a file.
Display document tree
The Display document tree button in the toolbar is used to show an employee-specific folder tree in the navigation pane. Documents/files of the respective employee are automatically stored in the different folders. The folder of the top-level hierarchy, e.g. 10021 Sam Sample, contains all available documents; the document-specific subfolders contain only the corresponding documents.
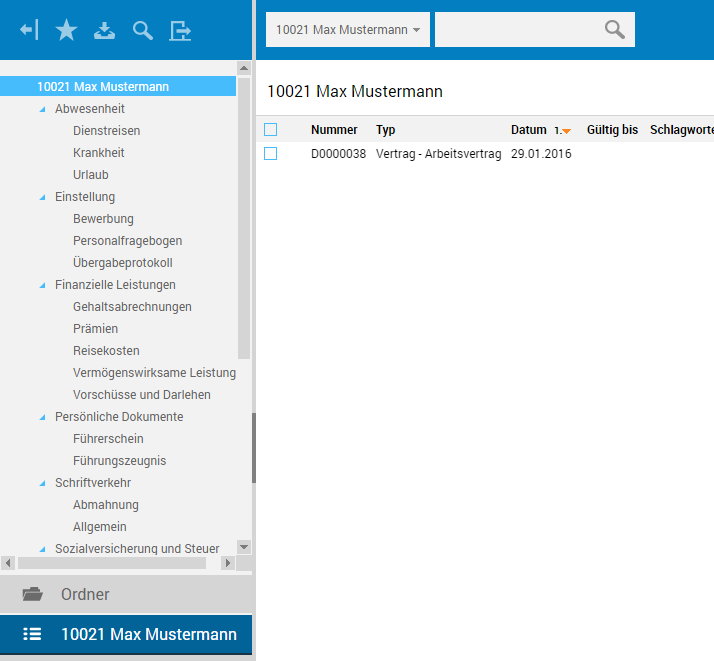
If, for instance, you have created an employment contract file for a new employee, it can be viewed in the corresponding folder, e.g. Contract/Employment contract. By clicking the document entry in list view, the file opens in details view.