Creating a Job Posting
This job posting is for the post of product developer at Condex Packaging Inc.
The "Applicant Management > Job Postings" Module
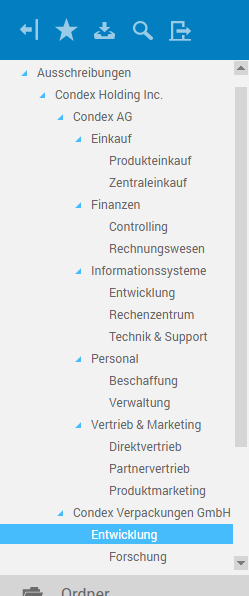
Job postings are created and managed in the Applicant Management module. To create a new job posting, in the navigation pane, select the sub-outbar Job postings via the Applicant management outbar.

The corresponding folder tree appears in the navigation pane above the outbars. This folder tree, which maps the corporate structures, is used for company- and department-specific management of job postings. In the Condex Packaging, Inc. folder, select the Development folder.
Create a job posting
In the workspace, the content of the folder is displayed in list view.
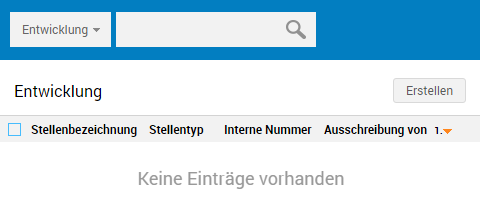
To create a new job posting, choose the Create button above list view.

In the details pane, a new file named Job posting opens. When opening it, edit mode is enabled, so you can immediately start entering data. The different tabs now allow entering the corresponding information.
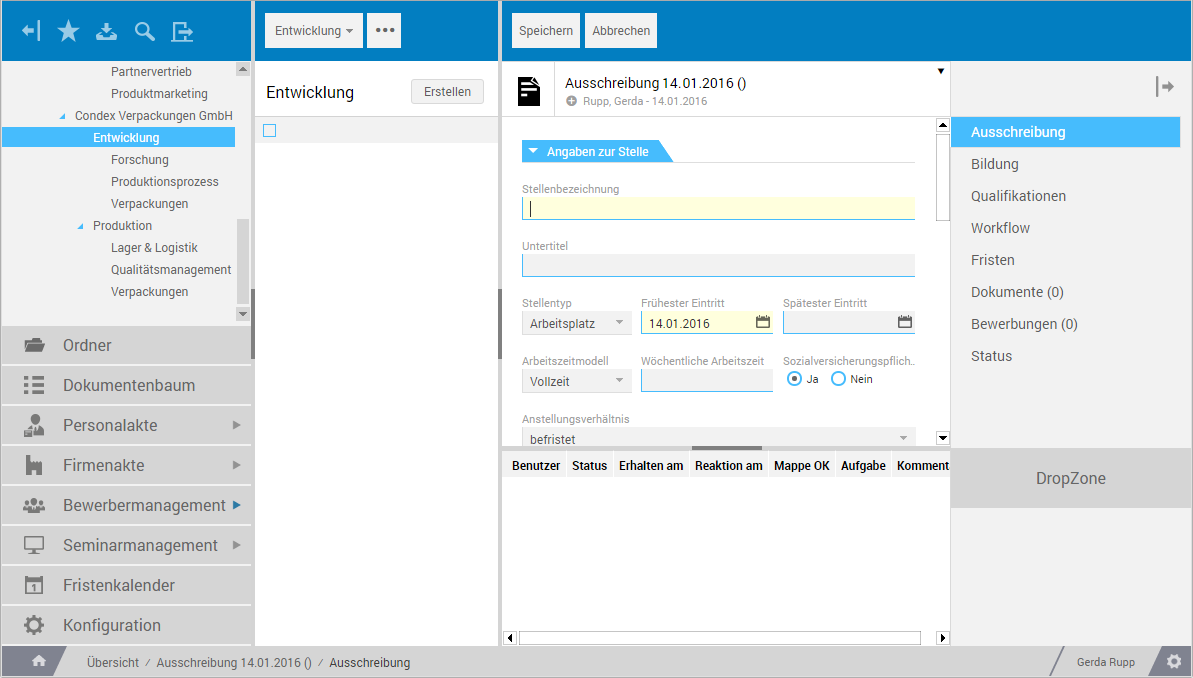
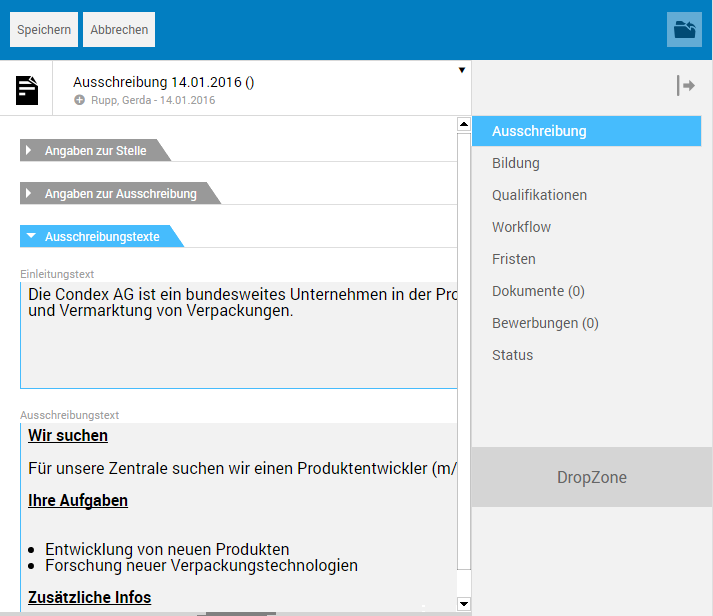
The "Job posting" tab
This tab is used to enter information about the post, about the job posting, and the job posting text.

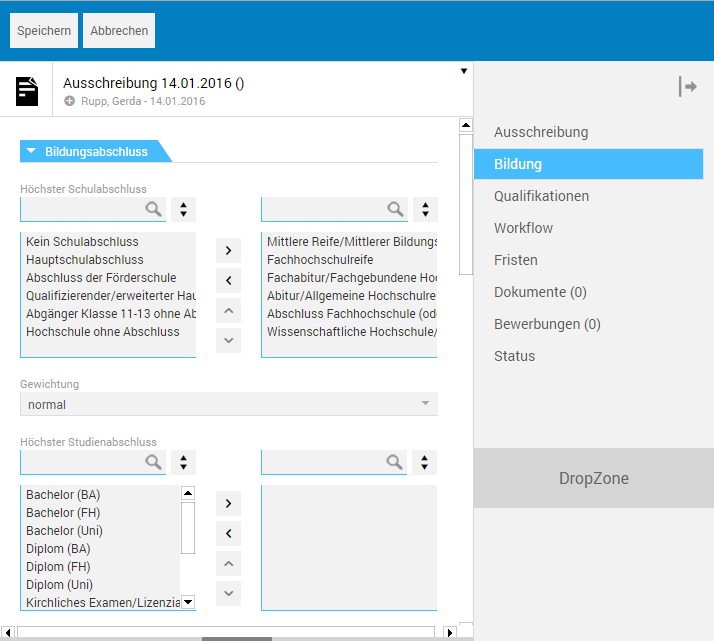
The "Education" tab
This tab allows specifying information about the required academic qualifications and about professional experience using default selection lists.
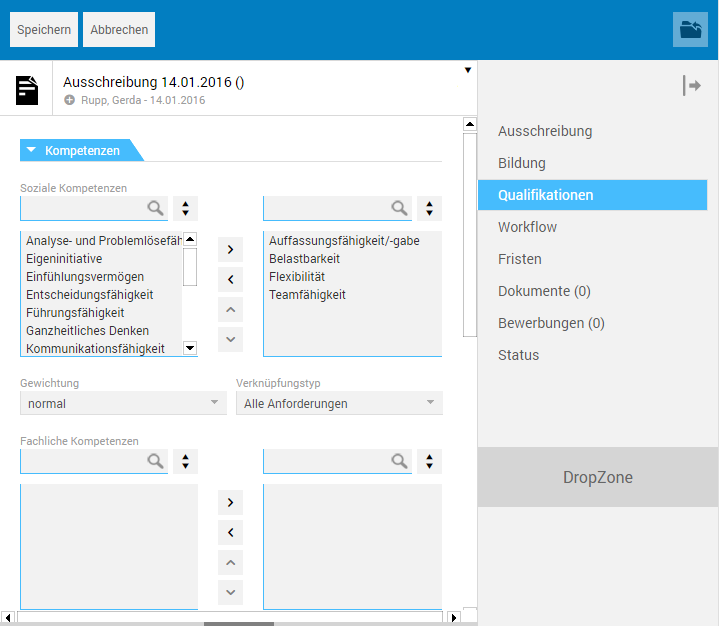
The "Qualifications" tab
This tab allows specifying information about the required competencies and about mobility using default selection lists.
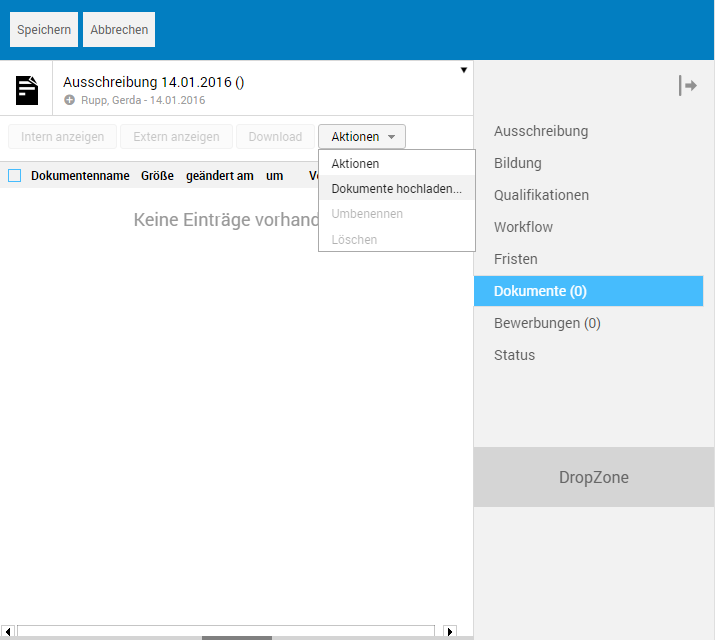
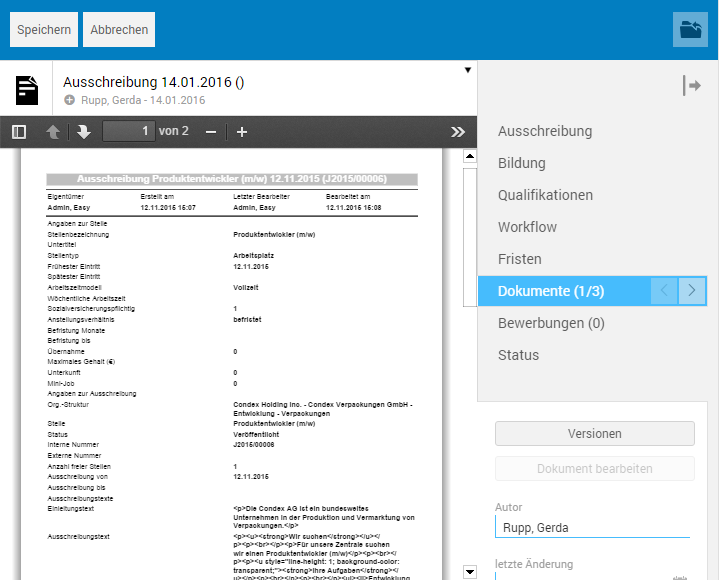
The "Documents" tab
This tab enables adding job posting related documents, text or image files to a file. To add these, the Upload documents function is available on the Actions menu. Alternatively, you can insert documents using drag and drop. For this purpose, you need to extract the respective data files from the file system or from your desktop to the DropZone, to be found below the tab selection.
After you insert a data file, it will be directly displayed. To insert another data file, you have to go from file view to list view because the functions for inserting are not available in file view. To do this, in the tab selection, click again on the Documents entry.

If this tab contains several data files, buttons will appear in the tab selection which allow you to select a particular document.
Save job posting
After you insert the desired data files, editing the job posting in terms of content is complete. The file can be saved by clicking the corresponding button in the toolbar.

Edit mode automatically terminates when saving, and you are taken to view mode. Moreover, a corresponding entry is created for the new file in list view. The post name and job posting date are used for the title of the file, e.g. Job posting Product Developer 01/20/2016. The Actions menu provides various functions for further processing of the job posting. You can, for example, send the file, or print it in PDF file format and define deadline dates.
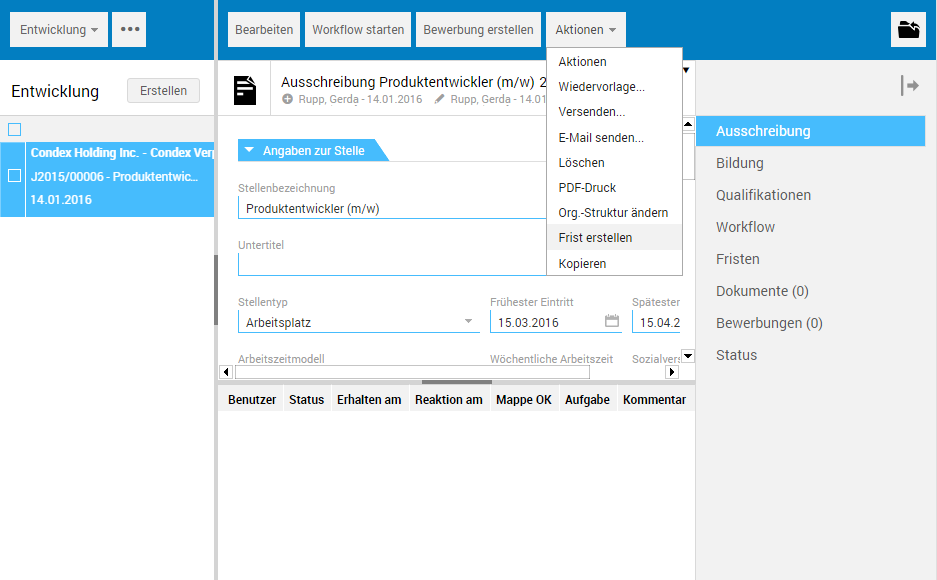
The "Deadline dates" tab
This tab is used to manage existing deadline dates for a job posting. Deadline dates, e.g. a deadline date that refers to the date of publishing a job posting, are created in view mode using the Create deadline date function on the Actions menu.
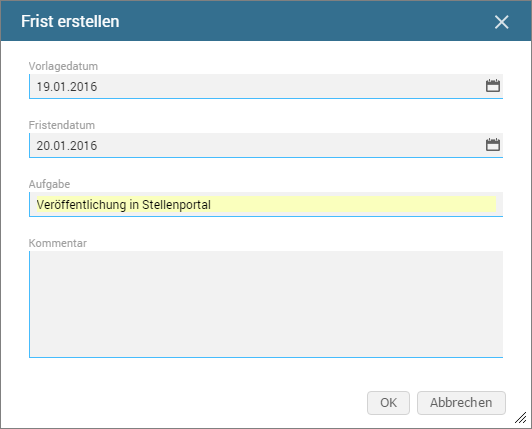
After you click OK to confirm this dialog, a file including the data of the deadline date is created under the title Custom deadline date Job posting Product developer. The Deadline dates tab is used to additionally create a link to that file. A traffic light system is used here to inform about the current status of the deadline date.

Clicking the link lets you switch to the file and edit the deadline data. This file can also be accessed from Deadlines.
All deadline dates created in EASY HR are managed under Deadlines; they can be viewed and edited here.
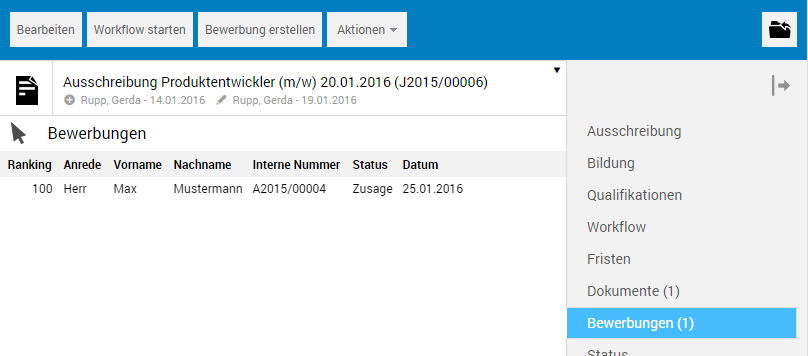
The "Job applications" tab
If you have received job applications for a job posting, the applicant data can be entered from the job posting file in a separate file. To do this, choose the Create job application button from the toolbar.

The Job application file then allows you to enter the corresponding data on the different tabs.
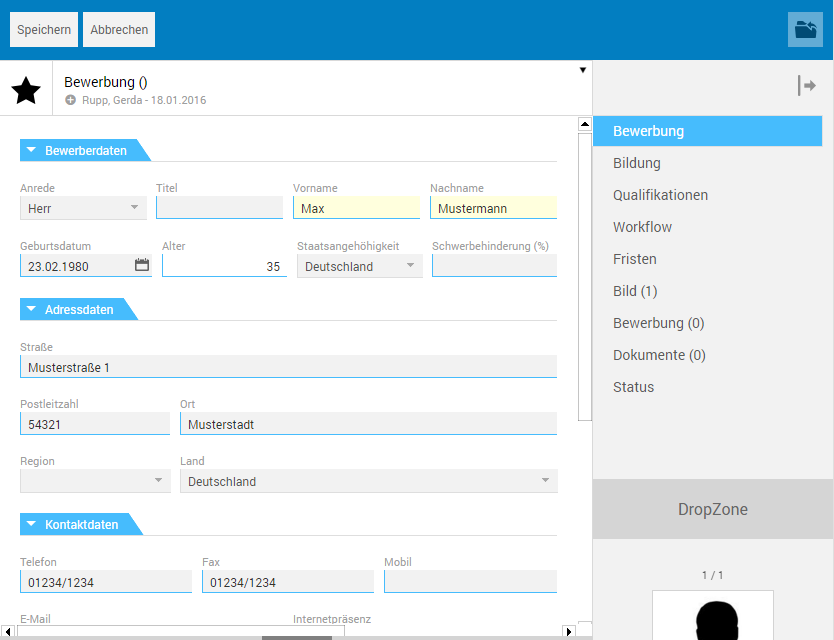
After creating the job application, a link to the corresponding file is created on the Job applications tab, which lets you access the job application at any time.
Job applications are created and managed in the Applicant Management module under Job applications.
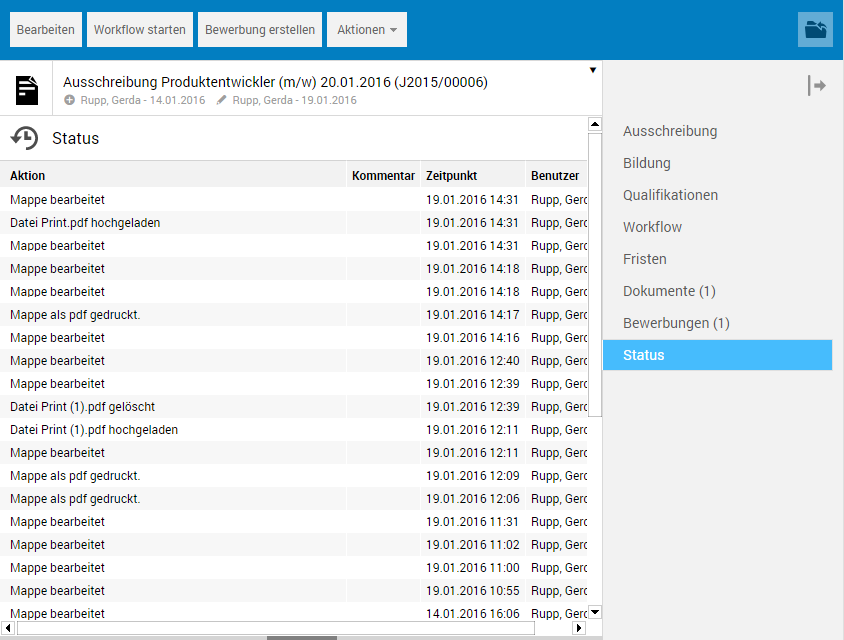
The "Status" tab
This tab is used to log all edits performed for a file.