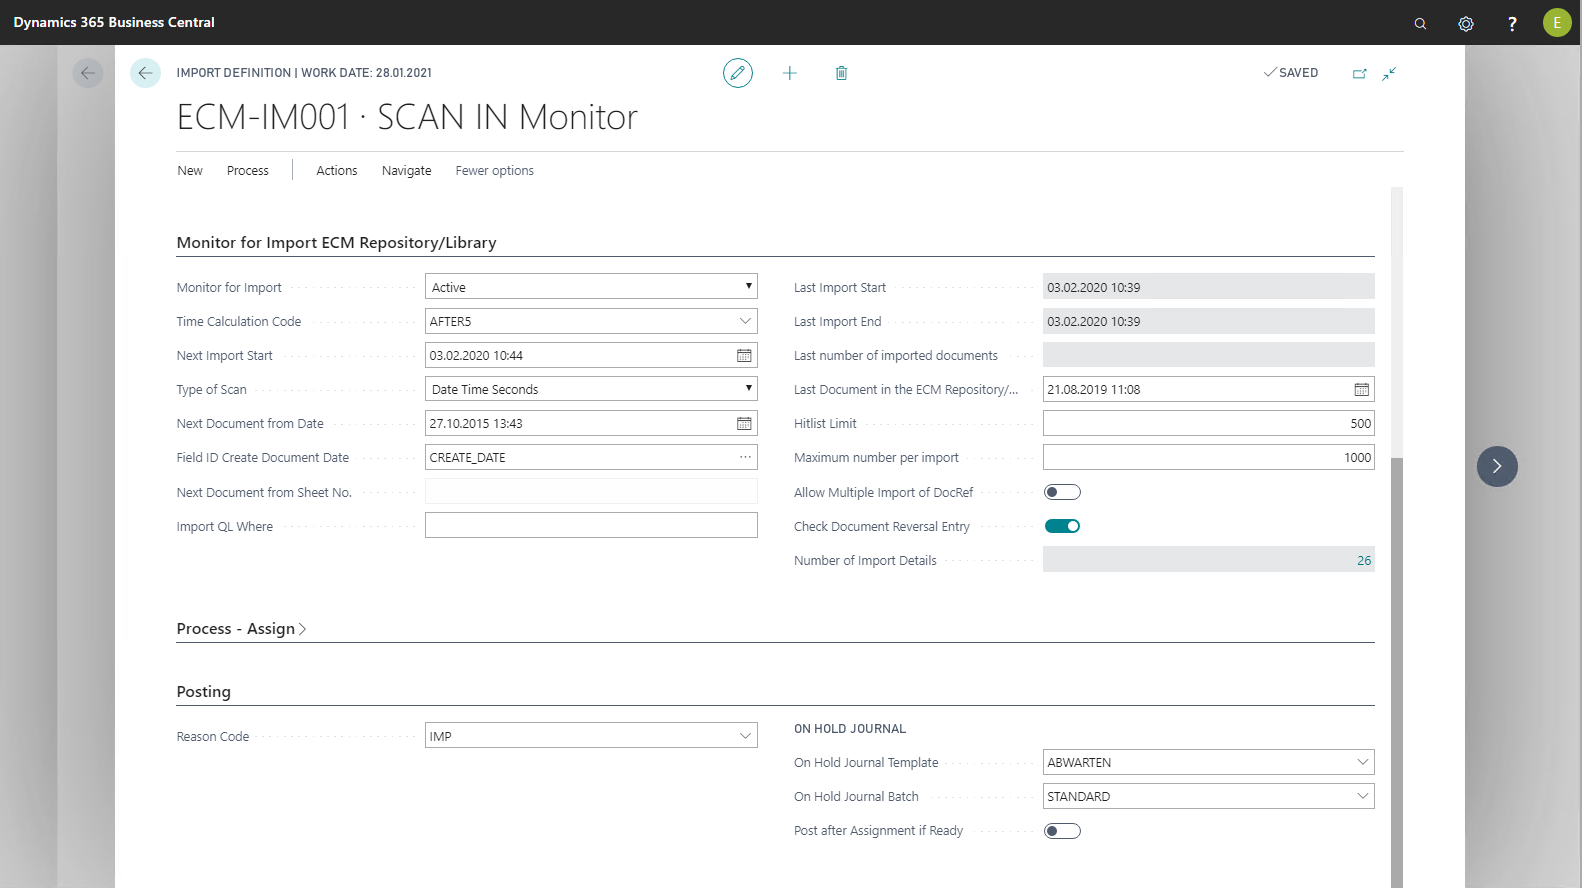
The "Monitor for Import ECM Repository/Library" FastTab

Monitor for import is performed by a ECM Job Queue Entry; it cyclically checks the ECM library/storage for new documents. To use the Monitor for Import function for an ECM library/storage, you have to enable it first. To do this, make the corresponding setting in the Monitor for Import field.
The following table provides an overview of the individual fields and their meaning:
|
Field |
Meaning |
|
Monitor for Import |
Turns on monitor for import (Active) or off (Suspended). |
|
Import Time Calculation Code |
Defines at which intervals the monitor for import function will search for mew documents. Here, time calculation methods are reverted to which are also defined on the EASY for Dynamics 365 BC setup menu. |
|
Next Import Start |
In this field, you set date and time for starting monitor for import. |
|
Type of Scan |
This field is used to control whether documents are imported by file or by date. When working with EASY Archive or Microsoft SharePoint, you need to import documents by date. |
|
Next Document from Date |
In this field, the system automatically enters the date of the recent import process. This date is used as the starting point for the next import process; it is compared to the date field of the ECM library / storage that is set in the Field ID Create Document Date field. The system checks whether files that were archived at the start date have already been imported. |
|
Field ID Create Document Date |
In this field you enter the primary search field (in most cases, the "creation date") of the archive table which enables time-driven search in the archive (e.g. all new documents from a specific date). This field interacts with the Next Document from Date field. |
|
Next Document from Sheet No. |
In this field, the system automatically enters the number of the EASY ENTERPRISE.i archive file that was last imported. So that Monitor for Import does not have to search the entire archive for new documents with every search, the file number last entered is registered and used as a starting point for the next search. When importing the File type, chunks of documents requested by default, i.e. only the number of records that are permitted in the HitList Limit field are imported. This will be performed until the ECM system no longer returns any files. |
|
Import QL Where |
This field lets you specify a filter expression that limits the records found when importing from the ECM archive. If, for instance, in practice only documents of a specific company are to be imported, the filter expression would then be AND INVOICE_Short.Company=101 . |
|
Last Import Start |
These fields are automatically updated after each import, and filled with the corresponding information. |
|
Last Import End |
|
|
Last number of imported documents Last Document in the ECM Repository/Library |
|
|
Hitlist Limit |
If more than 100 files with sequential file numbers have been deleted from the import archive, the result may be that archive monitoring does not import the complete archive. If this is the case, you need to enter a higher value in the Hitlist Limit field. |
|
Maximum number per import |
In this field you set how many documents are imported during an import process. |
|
Allow Multiple Import of DocRef |
If this option is enabled, the documents of the import library/storage can be imported multiple times. This should always be disabled by default. |
|
Check Document Reversal Entry |
If this option is enabled, the duplicate check for the document reverse entries will be enabled. This option should always be enabled by default. |
|
Number of Import Details |
Log file with information and, where possible, errors that occurred during import. |
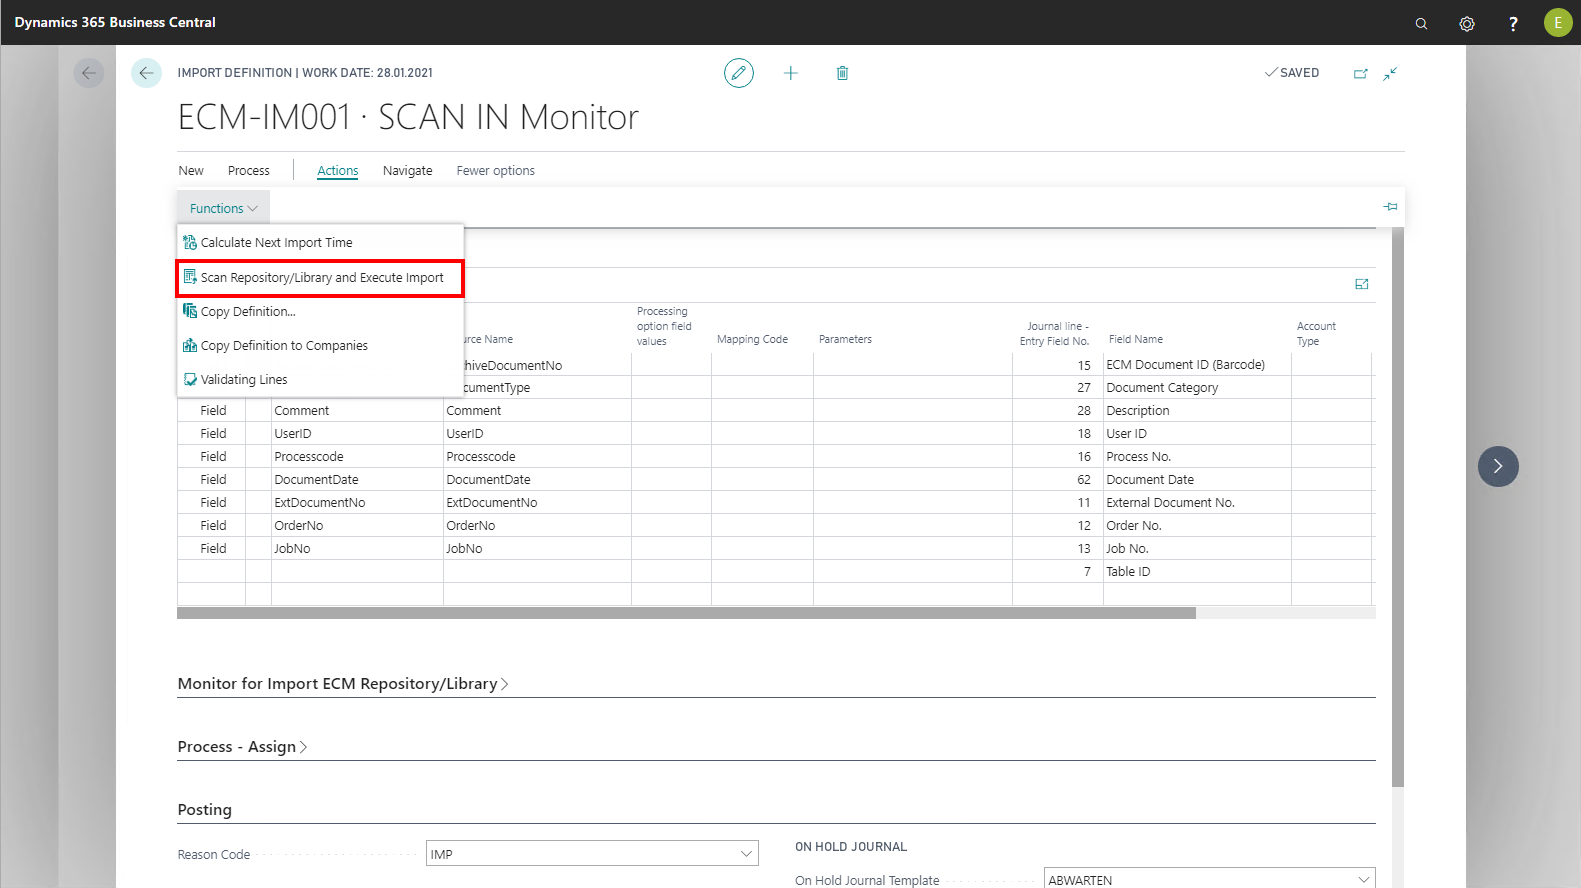
By default, if set up accordingly, an ECM Job Queue Entry automatically executes the Monitor for Import function. For testing purposes or if you cannot or do not want to use an NAS server, import can be started manually via the Scan Library/Storage and Execute Import action on the menu ribbon. On page 51 Purchase invoice, the Scan Library/Storage and Execute Import action is implemented as a sample. It allows direct execution of import regardless of the NAS server and time calculation.

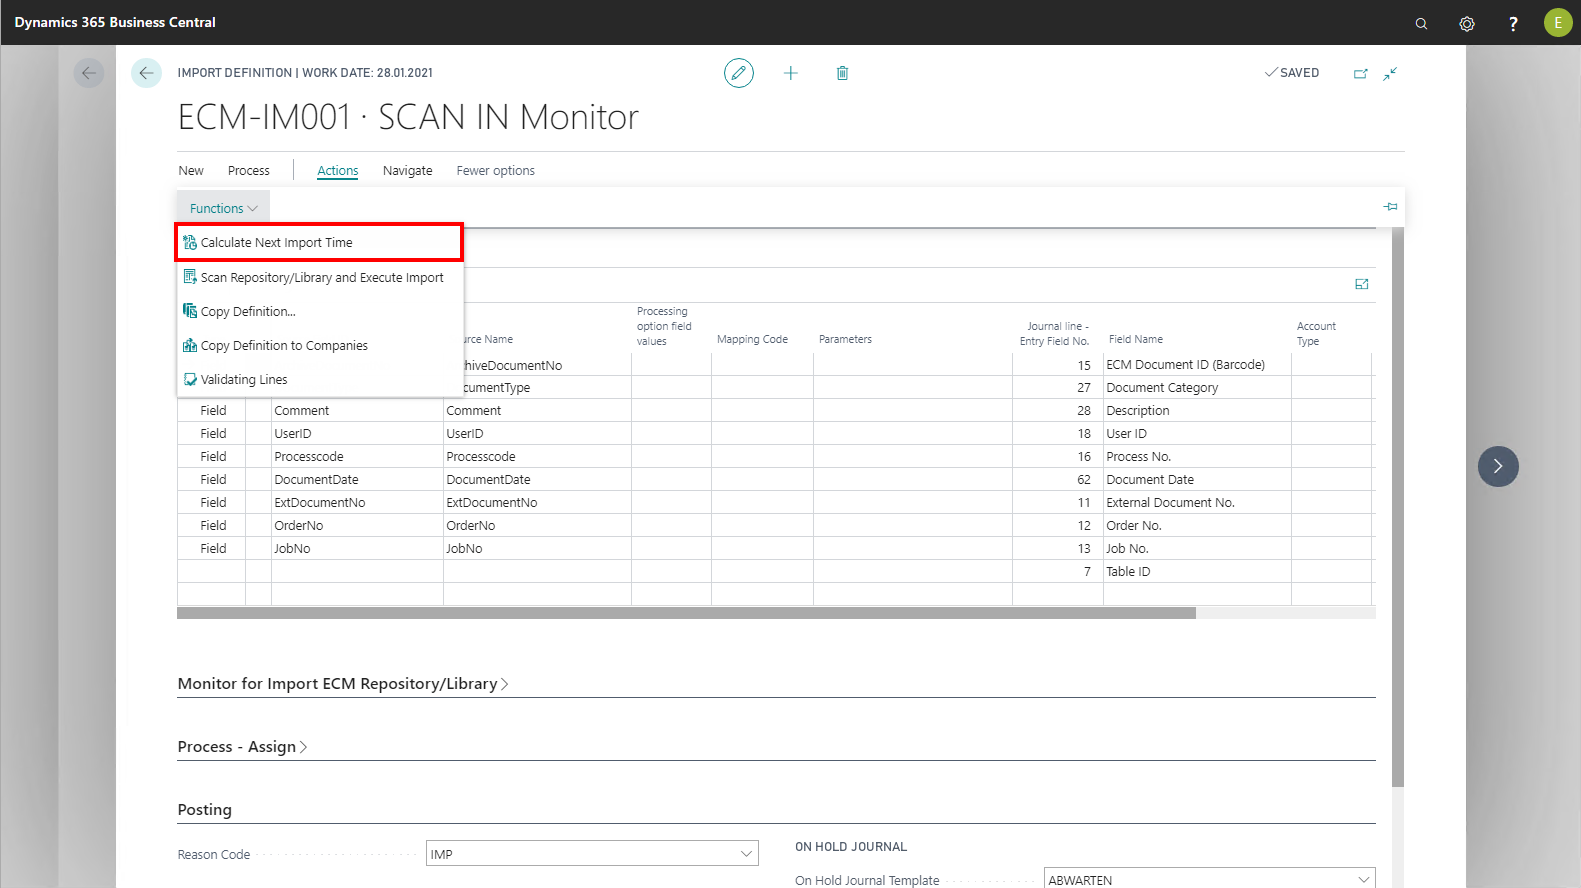
The Calculate Next Scan Time action on the menu ribbon is used to calculate the next Scan time, based on the current time and the time calculation code.
