ECM Setup Wizard
The ECM Setup Wizard supports you in setting up your EASY solution. You will find the Wizard on the "Support Setup" page via the global setting or via the "Setup and Extensions" → "Supported Setup" ribbon
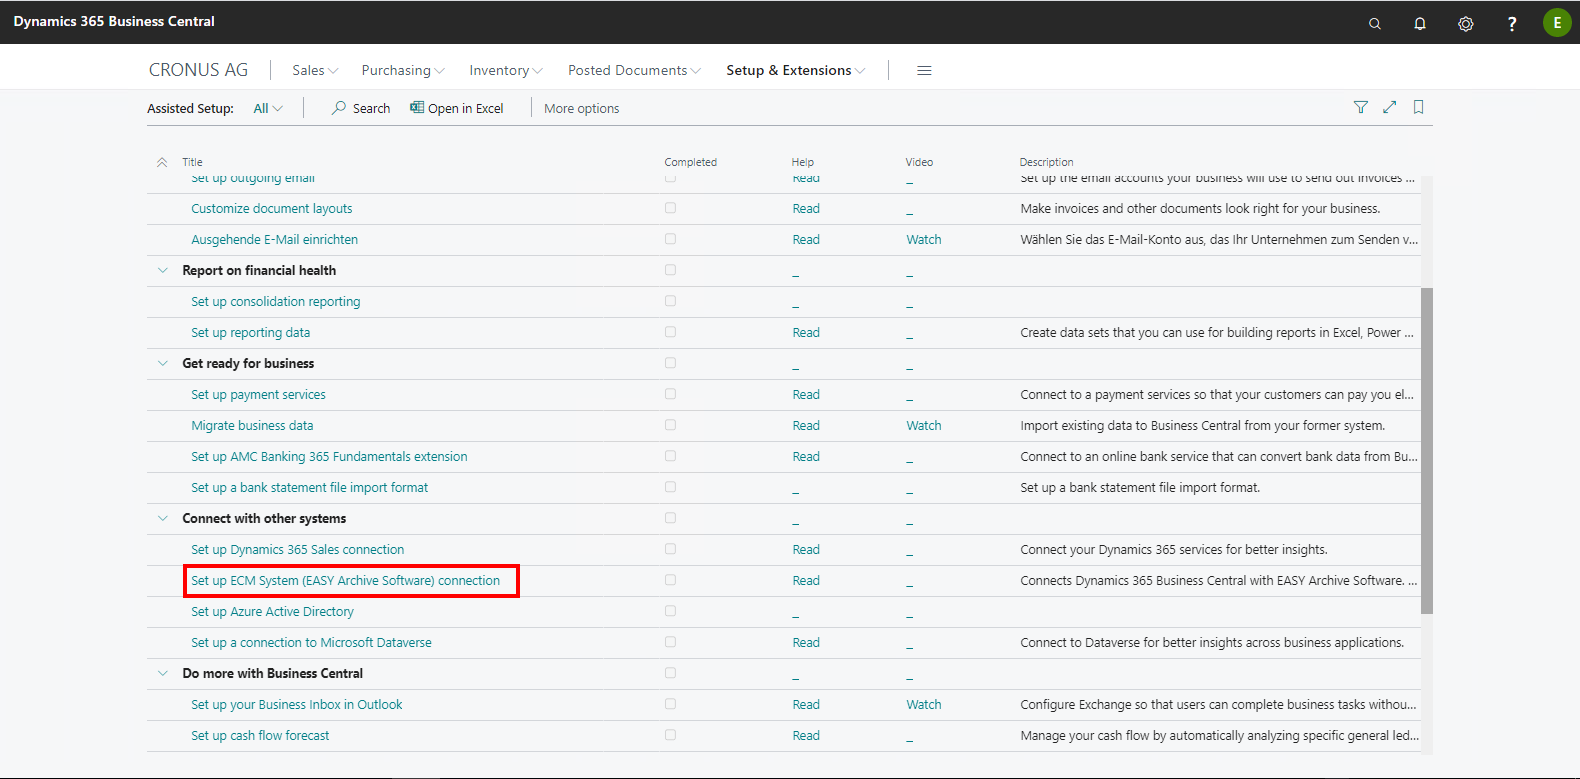
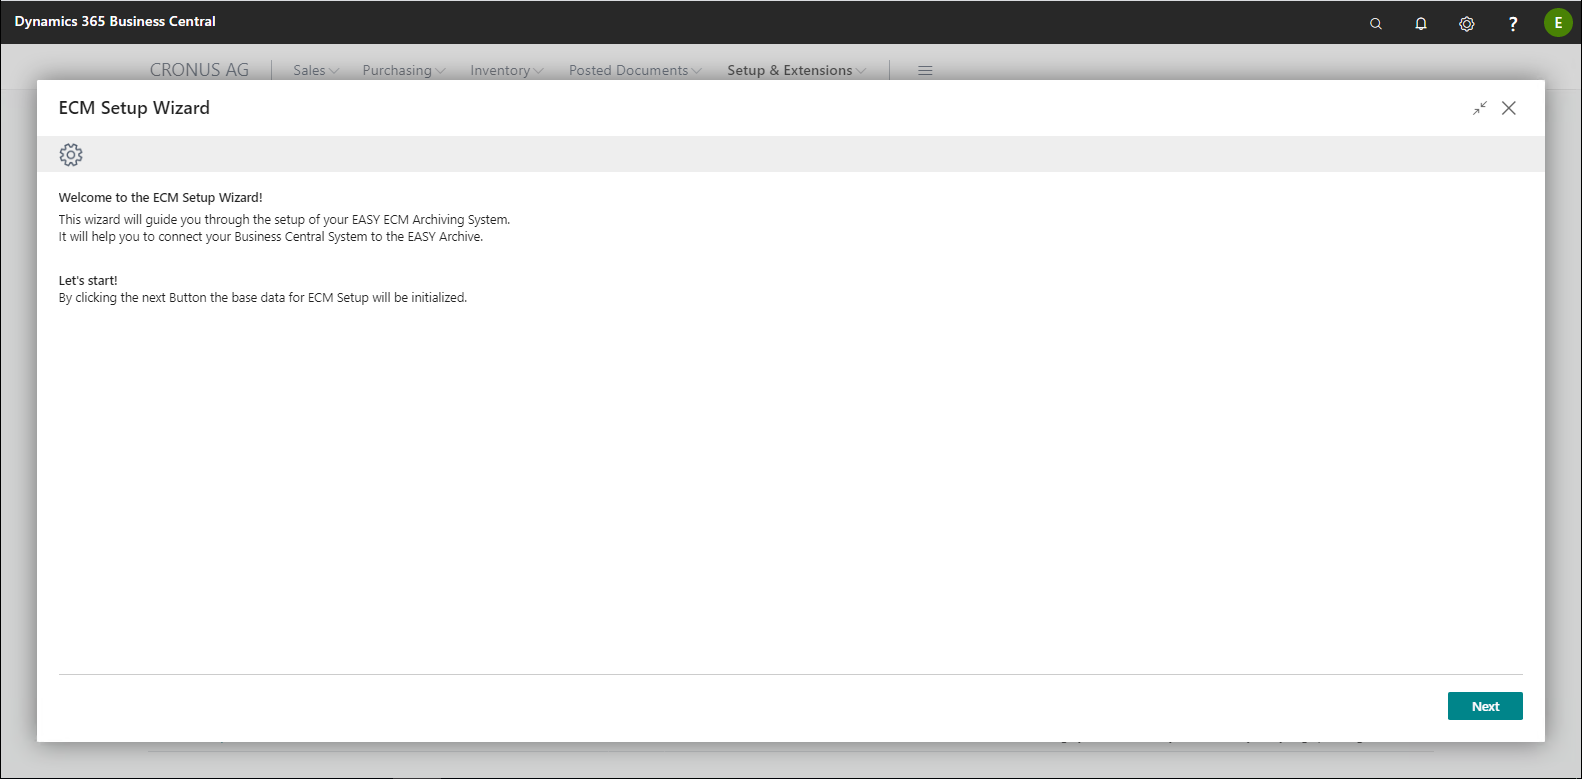
You start setup by clicking "Next" on the first page. If you do not want this, the Wizard can be closed by clicking "Close". The Wizard can be used multiple times because already existing setup data is recognized and not overwritten. In reverse this means, however, that all data to be reset by the Wizard to their initial state must be deleted from the setup tables beforehand.
First, the required setup files are written in the associated tables.
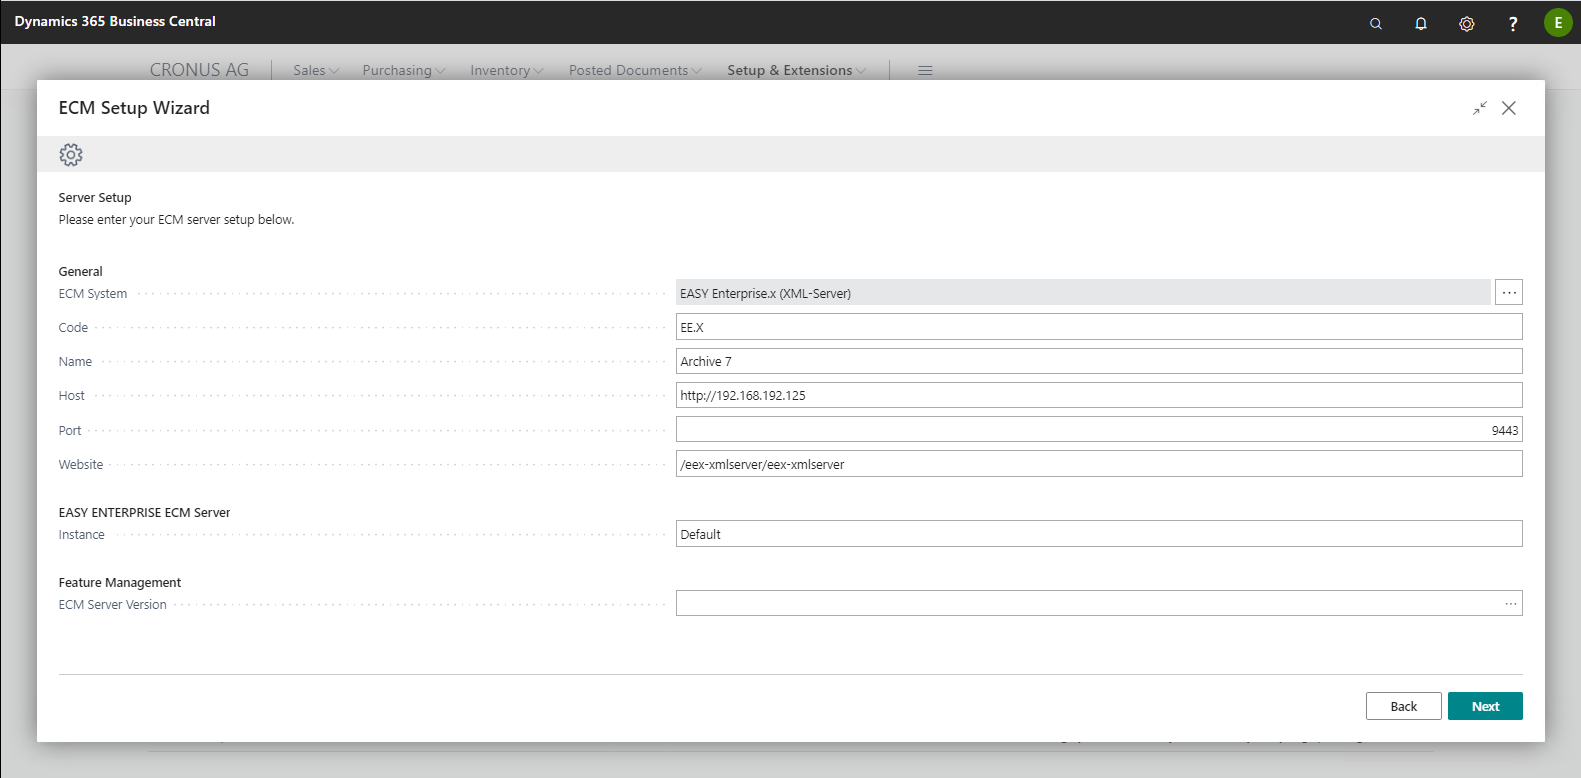
On the second page you will be prompted to establish a connection to the ECM server. The parameters to be entered here depend on which ECM system you are using and how to reach it. The following fields must be setup up:
|
Field |
Meaning |
|
ECM System |
Selecting the ECM system used. Available for selection are:
|
|
Code |
The server code can be arbitrarily specified. Setting up multiple ECM systems side by side and, depending on the server code stored in the document definitions, addressing them is possible. |
|
Host |
The archive server's http or https address. |
|
Port |
Port of the archive server via which the interface communicates. This port must, if necessary, contain the necessary shares in security tools and firewall. |
|
Website |
Website via which the ECM system can be reached. (Automatically pre-set) |
|
Instance |
The option to address a specific instance on the archive system is available: for example, to work with various companies in Microsoft Dynamics 365 Business Central and the archive, or to switch between test system and production system. |
|
ECM Server Version |
Option for closer differentiation / determination of the ECM server. (Initial value is empty) |
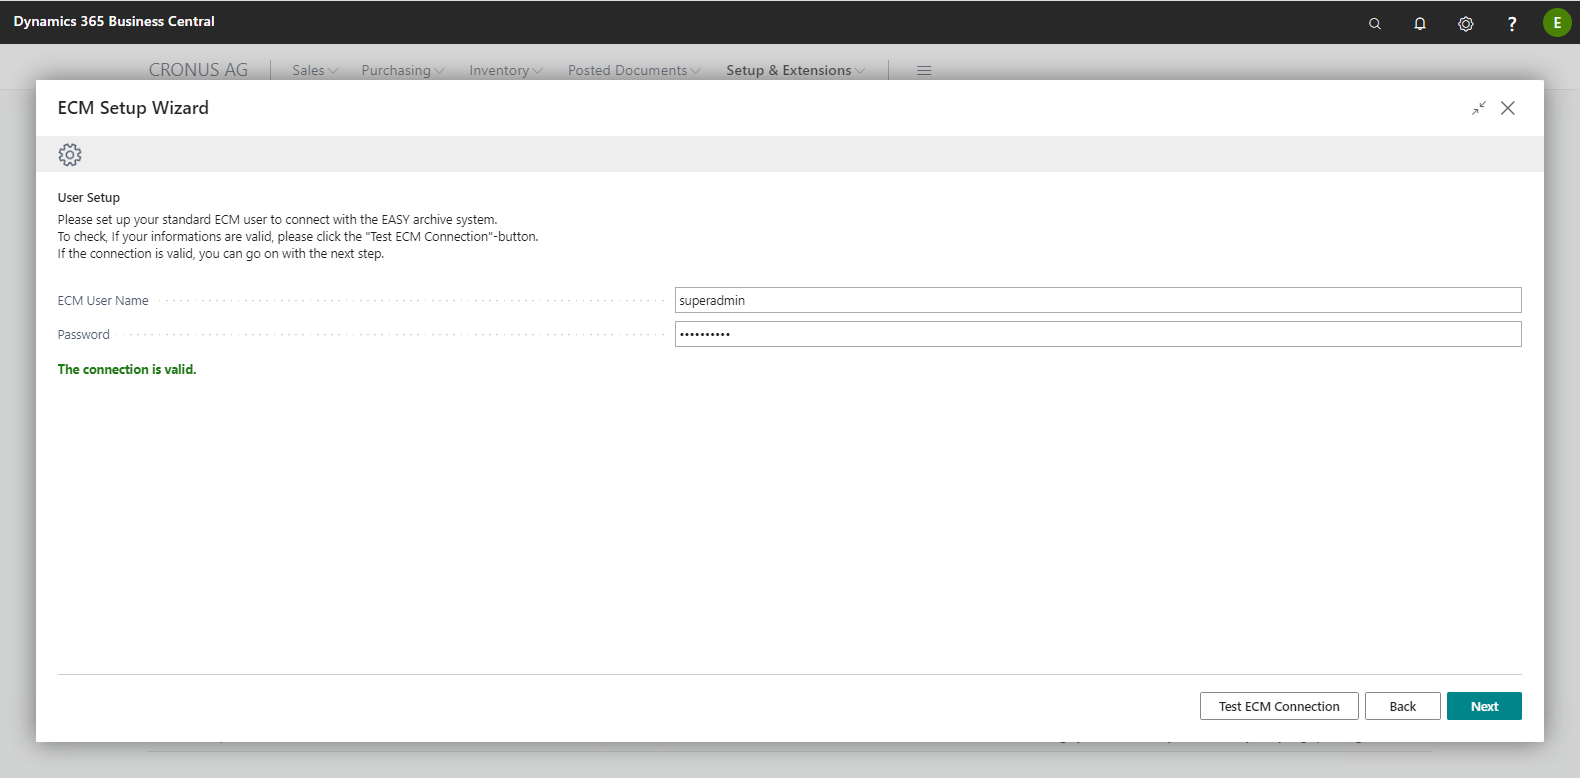
On the third page, you have to create the default ECM user. Once you have entered user and password, you have to perform a connection test using "Test ECM connection". If the test is successful, the "Next" button will be released; otherwise, please check your setup of this and the previous page. When clicking "Next", the archive structure will be read and will be available in the next step.
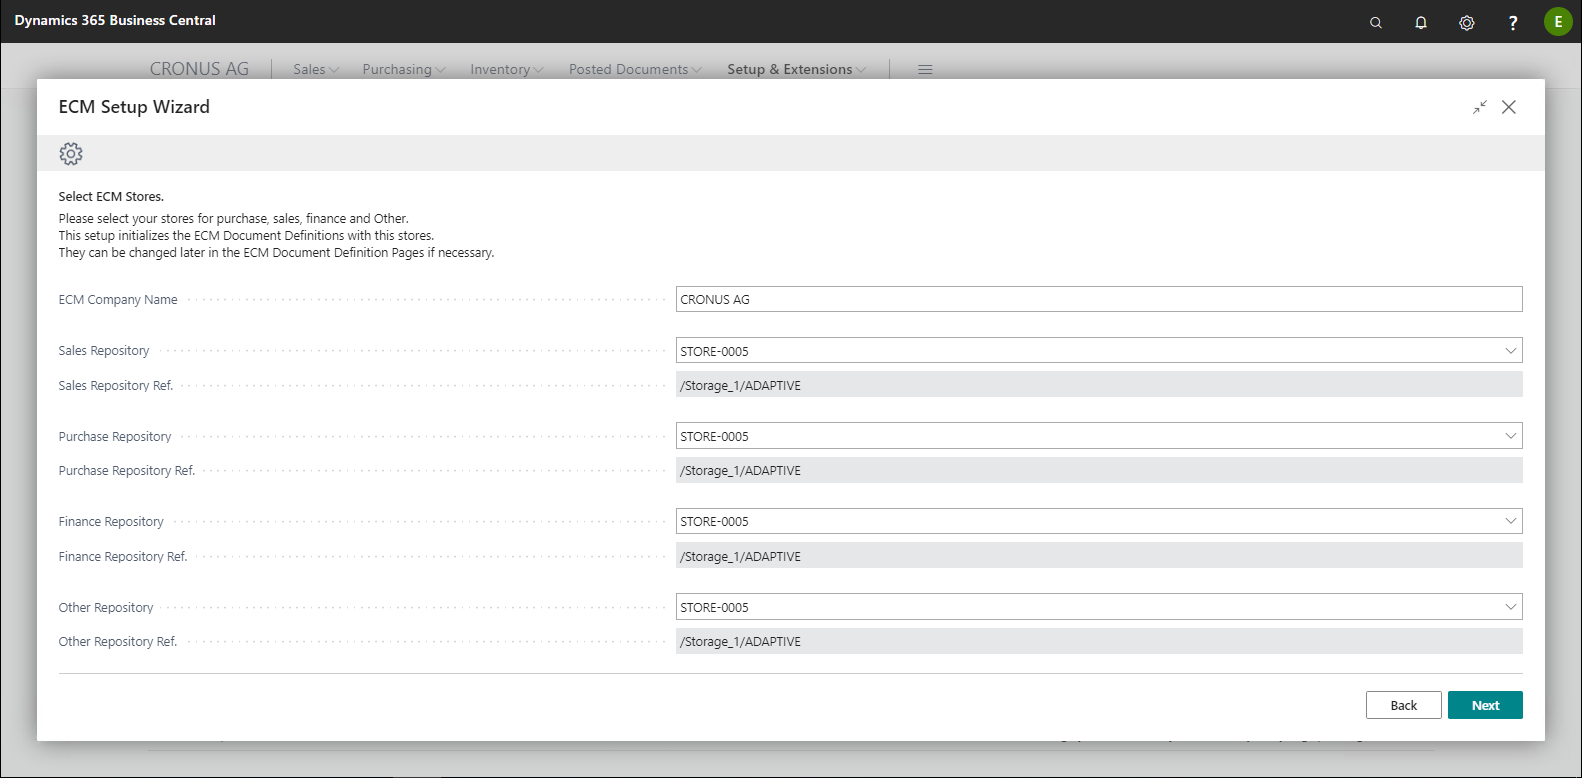
On this page, you will be prompted to enter multiple data, described below:
|
Field |
Meaning |
|
ECM Company Name |
Selecting the ECM system used. Available for selection are:
|
|
Sale Repository |
Here you can select from the list of imported storages where to store sale documents. This selection is written in the corresponding ECM document definitions; it can be changed at a later time when necessary. |
|
Purchase Repository |
Here you can select from a list of imported storages where to store purchase documents. This selection is written in the corresponding ECM document definitions; it can be changed at a later time when necessary. |
|
Accounting Repository |
Here you can select from the list of imported storages where to store accounting documents. This selection is written in the corresponding ECM document definitions; it can be changed at a later time when necessary. |
|
Other Repository |
Here you can select from the list of imported storages where to store (other) documents, e.g. external files assigned to a contact. This selection is written in the corresponding ECM document definitions; it can be changed at a later time when necessary. |
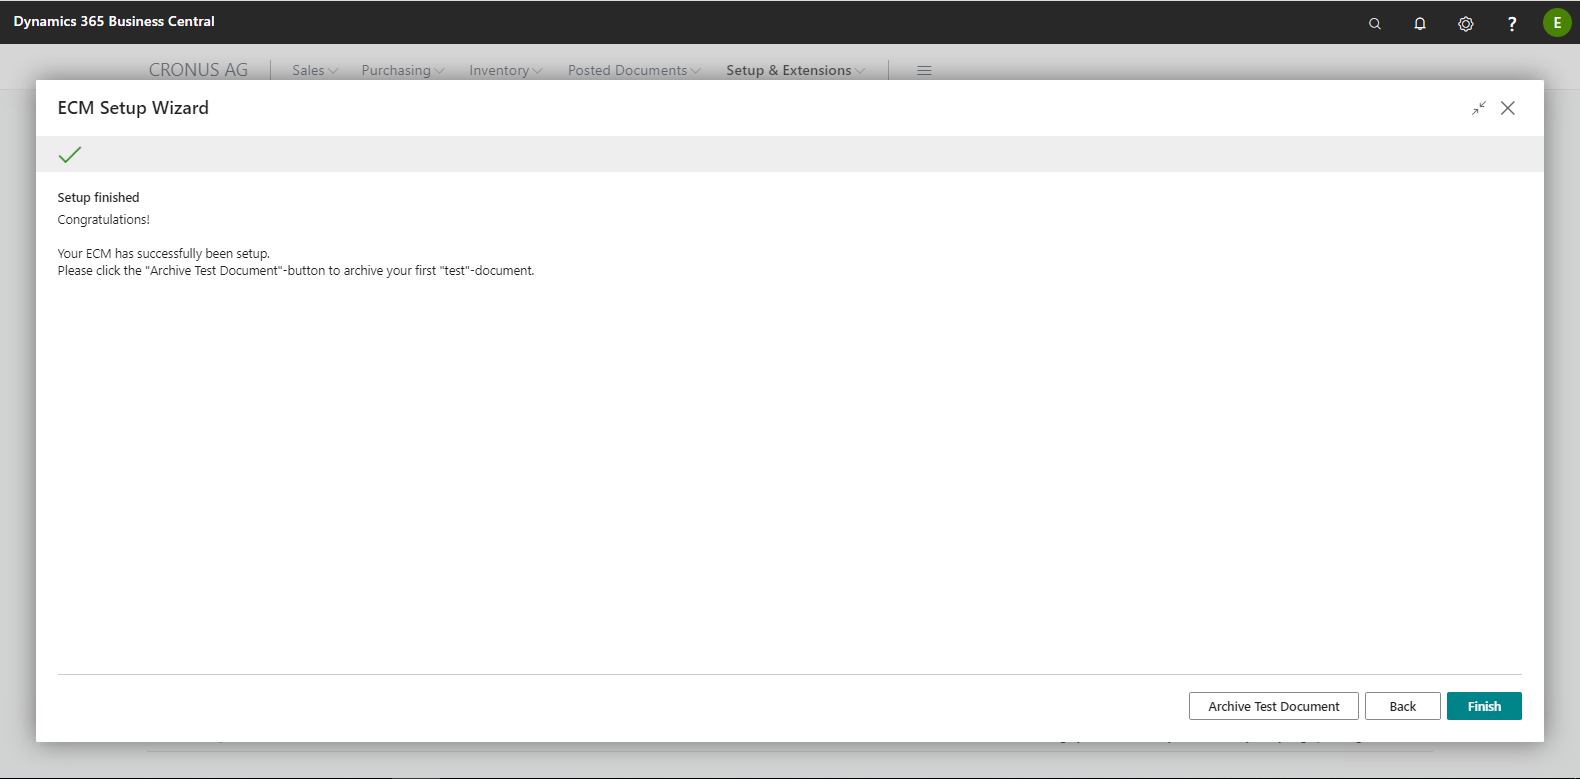
When this page appears, setup of your solution is almost complete. However, it is strongly recommended that you also archive the test document, particularly with initial setup, to ensure you know that your solution is completely ready to use.
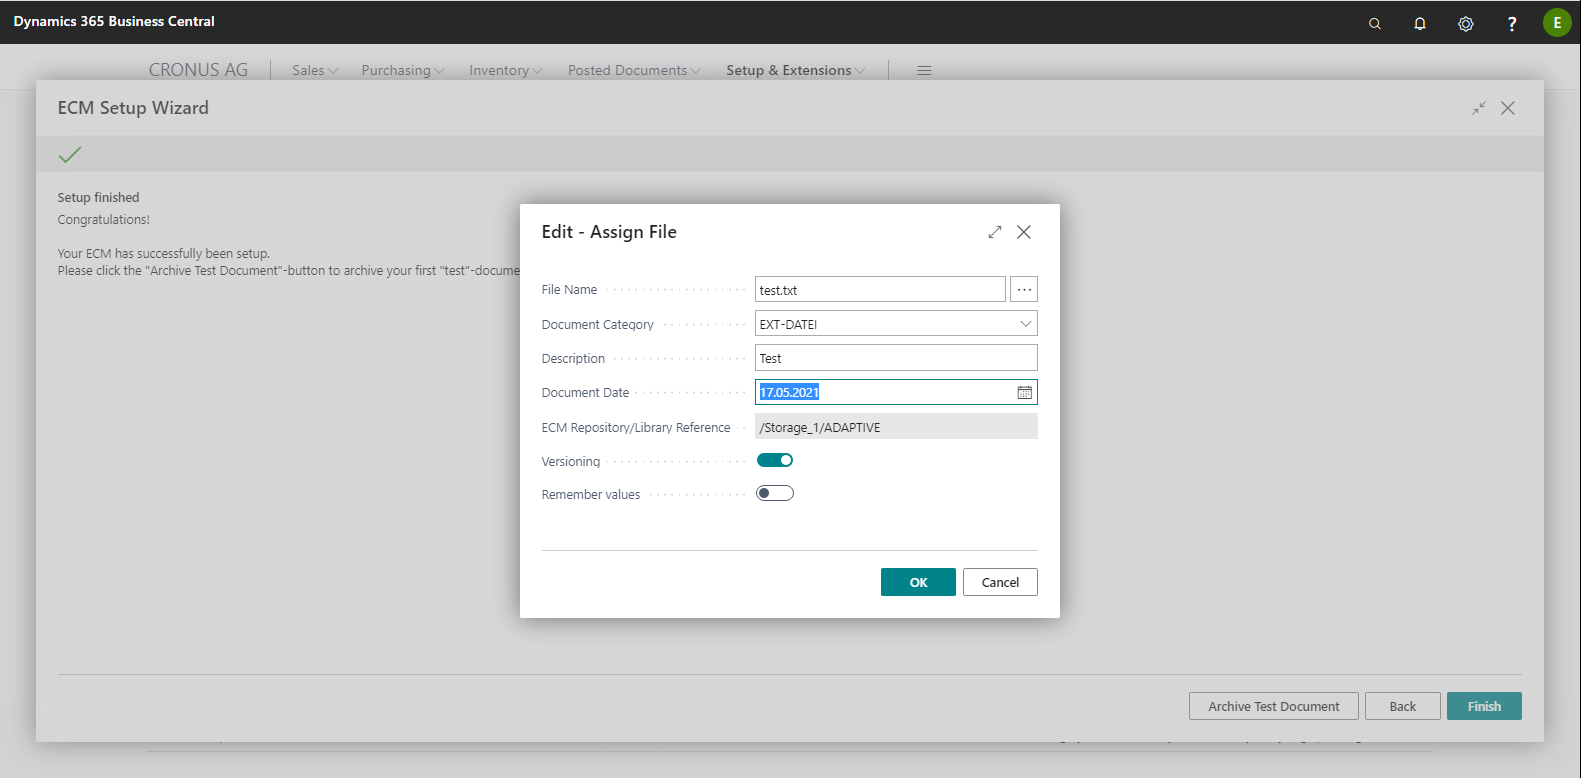
When you confirm this dialog, an attempt is made to archive a test document and you will get a corresponding message if archival has been successful.
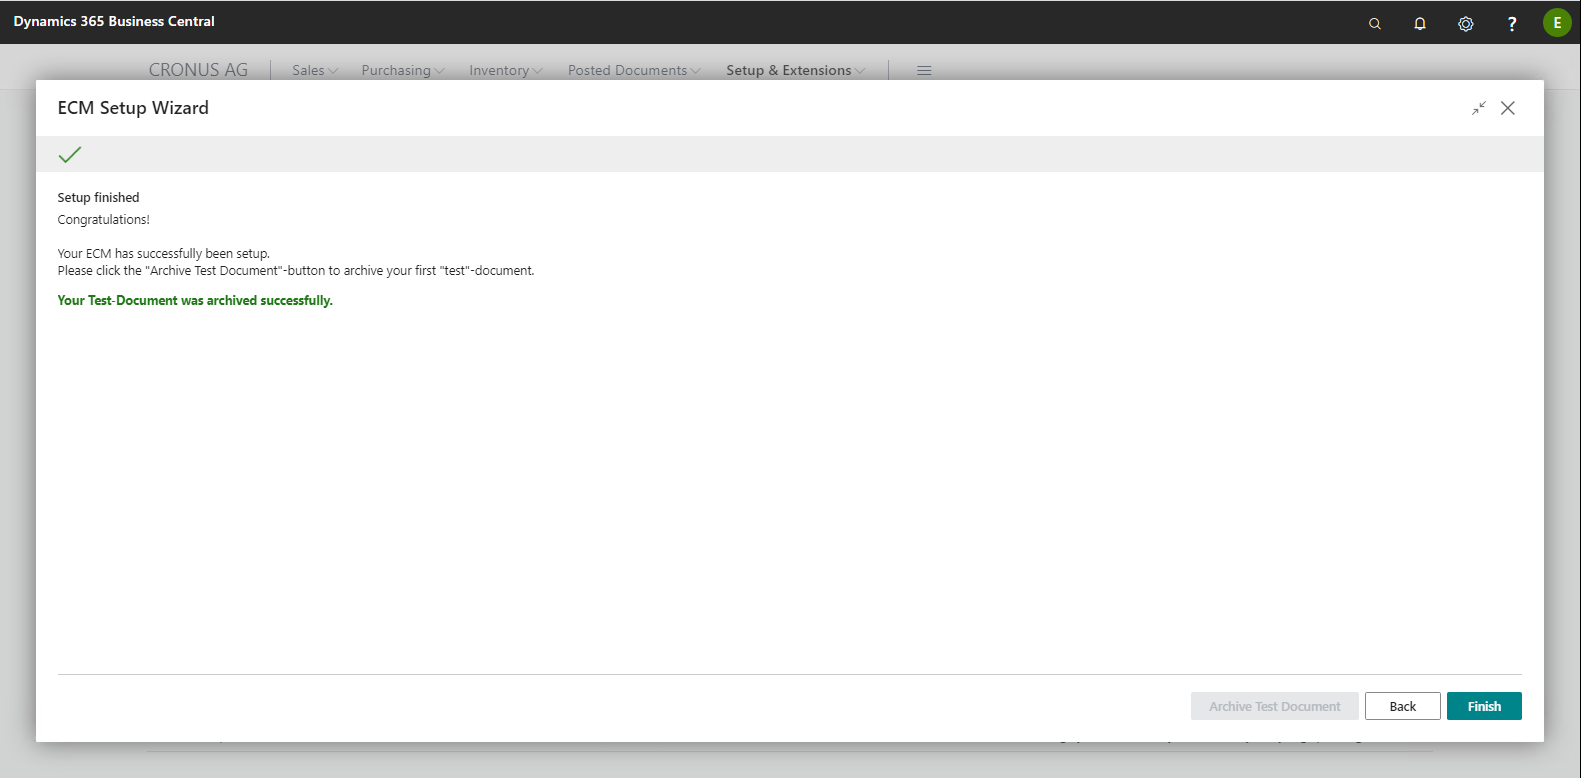
Now you can close the Wizard. This sets your solution in ECM setup to "active" and even a necessary job queue item is generated and started. Your EASY for Dynamics 365 Business Central solution is therefore ready to use.