Receive new request: Sign documents
Overview of Received requests

Under Received requests you will find a tabular overview that gives you an overview of signature requests. The requests are displayed line by line, and in the five columns you can see various information about each request.
-
Sender: Shows you the e-mail address of the sender of the request
-
Date: Date and time (CET) of the request
-
Properties: Information on the signing types of the request
-
Document: Name of the document
-
Action: Various action options (signing, history)
Filter requests
Under Filter you can select the options "open", "signed" and "rejected". Click on one or more of the options - your enquiries will be displayed accordingly.
Search queries
The search function helps you to find a specific enquiry even faster. For example, enter the e-mail address or a document name in the search field placed centrally above the table view and all matching results will immediately be displayed clearly.
Sort queries
Within the table view, you can sort your enquiries by clicking on the blue arrows in the table button. You can sort by sender, date and document and use the arrow view to indicate whether the search should be in descending or ascending order. The blue circles with numbers indicate the order of sorting.
The following example sorts by sender (increasing), date (decreasing) and document (decreasing):

Signing documents
If you are required to sign a document - for example, using Advanced Digital Signature (AES) - you have four options:
You select countersign:
-
Proceed in the same way as described under Add your own signature
-
The space provided is filled with your signature.Optionally write a comment / add attachments
-
Confirm the process
Select countersign & delegate:
-
Proceed in the same way as described under countersigning
-
Add another person to the request as described under Adding a recipient.
-
Confirm the process Select Delegate:
-
Optionally write a comment / add attachments
-
Add another person to the enquiry as described under Adding a Recipient
-
Confirm the process You select Decline:
-
Optionally write a comment
-
Confirm the operation
If, on the other hand, you are asked to review the document but not to add your signature, you can do this under Do not sign. Now carry out the following steps:
-
Confirm or reject the request
-
Optionally, write a comment
-
You end with Cancel or Confirm
Automatic Delegation
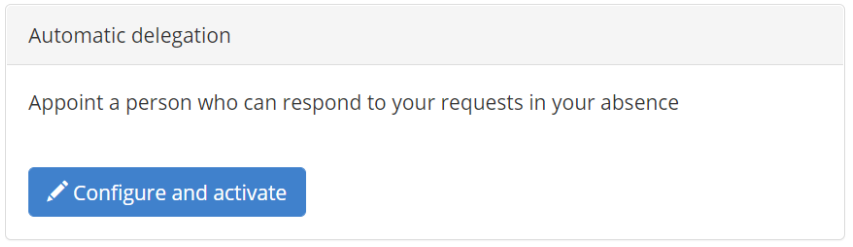
In your absence, you can have another person you trust sign in your place. Should a request be made to you during this time, a mail will be sent automatically to the representative.
Sign with two-way authentication (SMS TAN)
The prerequisite for this signature setting is that you have stored a mobile or landline number in the profile as the recipient of the signature request. As soon as you go to Sign you will be asked to enter a TAN which will be sent to your mobile phone. Confirm this by clicking on the Send TAN button. If you have not received a TAN after a few minutes, request a new TAN.
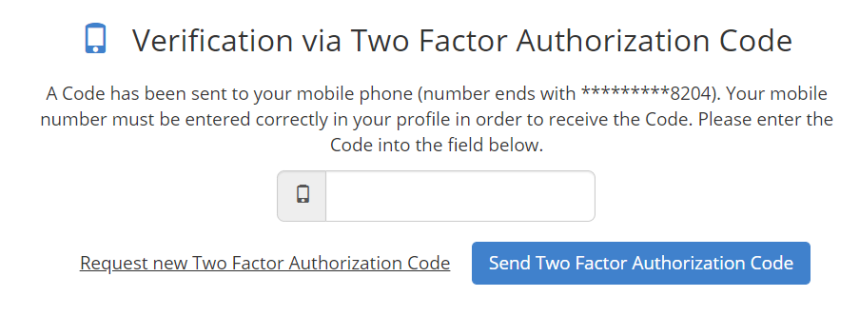
Confirm the TAN by entering it in the field provided. The TAN will now be verified and you will be taken to the signing page. Continue the signing process as described under Signing documents.
Signing an editable document
Signing a fillable PDF differs only slightly from the other types of signing.
TIP: All changes in the document must be completed by acknowledging the green tick.