Create new request: Send documents for signing
Would you like to receive a signature from other people? Start by creating a New Request using one of the following ways.

Either on the homepage at the top right...
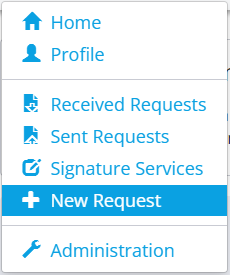
...or on the start page at the top left via the drop-down menu.
You can find more information here: EASY eSignature - So erstellen Sie eine neue Signatur-Anfrage - YouTube
Step 1: Add a document
Once you have started a request, add the document you want your recipients to countersign or approve. EASY eSignature allows you to select a number of different file formats from popular text, presentation, graphics or spreadsheet applications.
Select their files using the Select File button. Once the files are added, EASY eSignature converts them to PDF format for sending and saving. The name of the document to be signed is derived from the file name and cannot be changed.
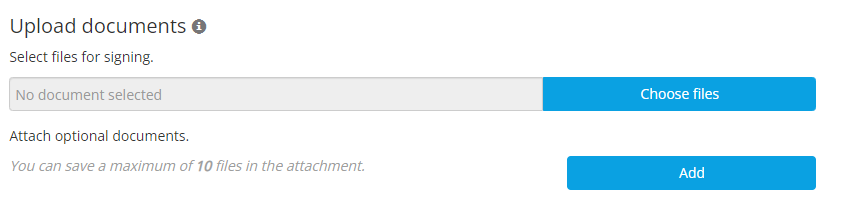
Add attachments
You can add supplementary documents as attachments. These documents do not receive a visible signature, but are simply sent along with the signed document.
TIP: The file size of the signature request (document to be signed including all attachments) is limited to 50 MB. The number of attachments may not exceed 10. When converting documents created in Word to PDF in EASY eSignature, it may happen that fonts are not correctly adopted.
Step 2: Add your own signature
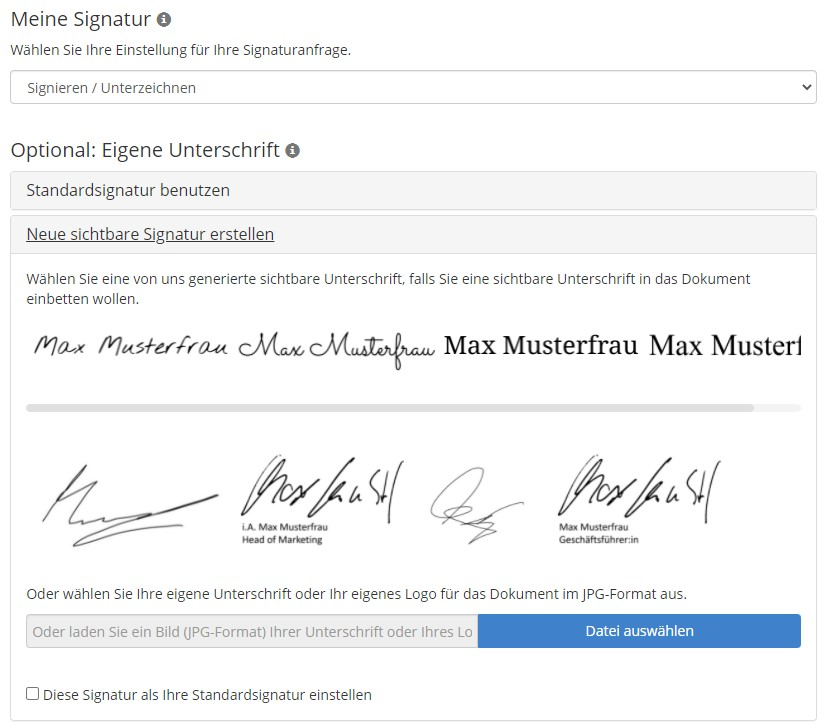
You determine with which signature setting - read confirmation (without signature) or sign / sign (corresponds to advanced signature) - you want to sign. If your EASY eSignature account is connected to the Bundesdruckerei or Swisscom, you can also sign with QES. If you decide to sign, EASY eSignature offers you two options for the pictorial signature.
Option A: You can choose a proposal displayed by the system.
Option B: You upload your own signature or logo as a JPG file. In Select file you can select and upload up to five different signature images.
Confirm the image of your choice with a click.
With a click in the box at the bottom left, you can set this signature as your default signature.
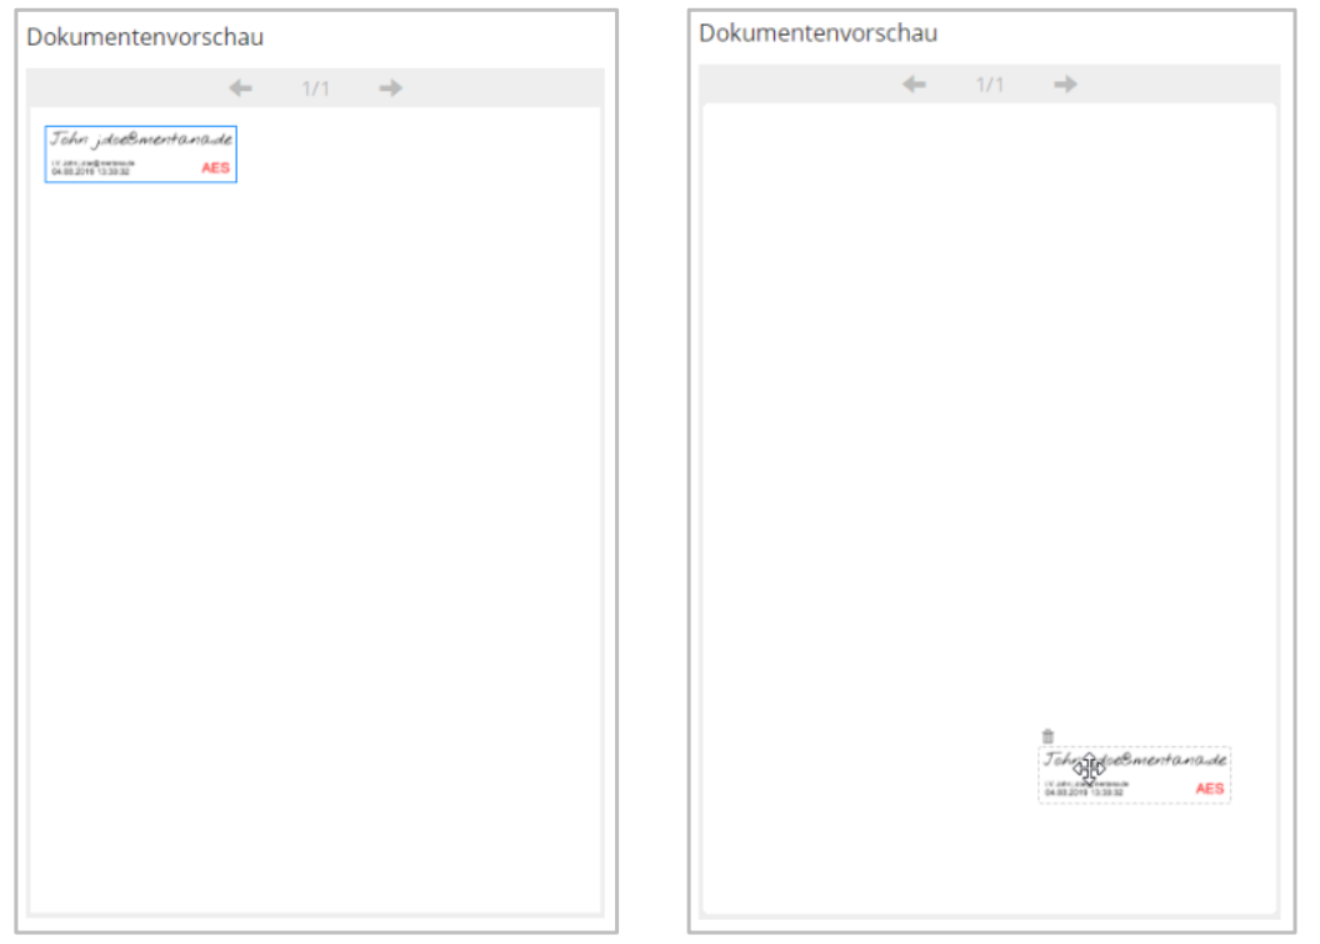
The pictorial signature then appears in the upper left corner of the document preview.
Now move your signature with the mouse to the place in the document where you want it to appear. Click on the blue tick to fix the pictorial signature in place.
To move the image to a specific page, use the arrow keys in the upper edge of the document preview.