Configuring Web Services
These links take you to the individual sections on this page:
Dimensions
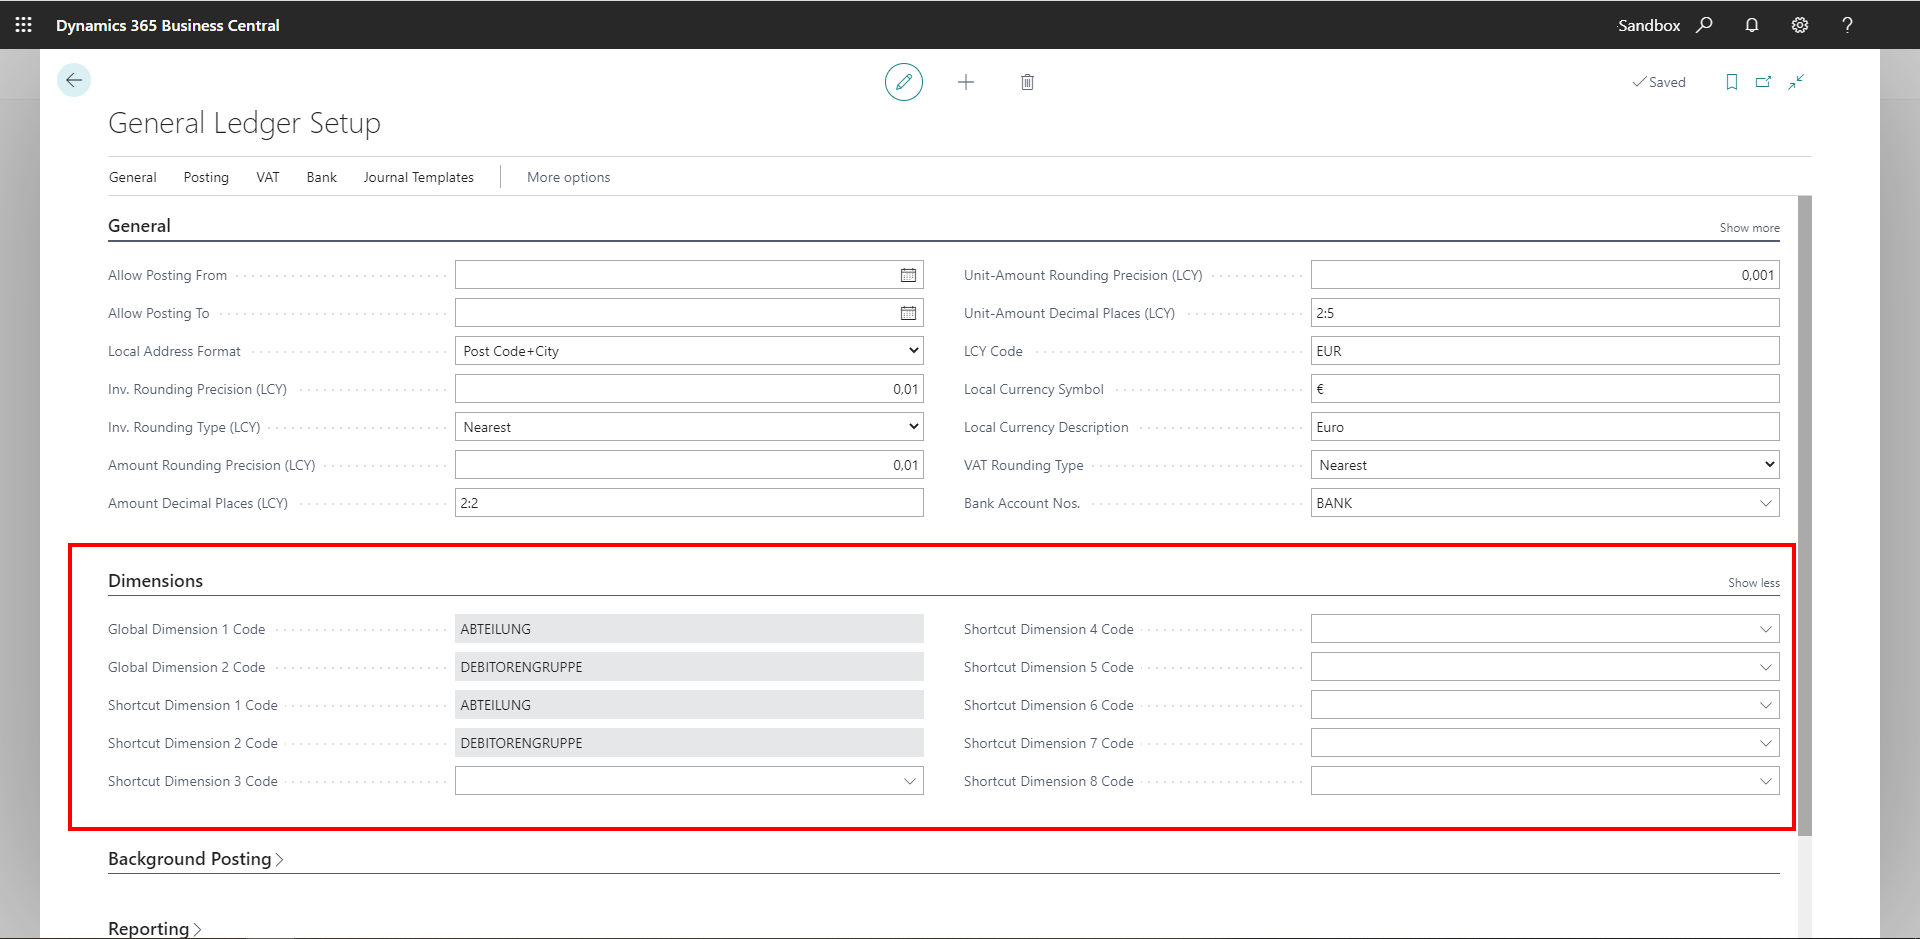
For each posting in Dynamics 365 Business Central, you can include various dimensions with the documents at header and line level. The dimensions are used in Accounting for evaluation purposes. EASY Invoice Connector supports transmitting the shortcut dimensions 1 to 8, as stored in Accounting setup.
Currently, the dimension values matrix is not yet supported.
Example: Cost centers and cost unit
In EASY Invoice, the Cost center and Cost unit fields can be populated per invoice line, but the invoice lines in Business Central do not know these fields. There, the values for cost centers and cost units are included via Dimensions.
In the default configuration, EASY Invoice passes, via the data tools, these fields in the ECM Dimension Value 1 (cost center) and ECM Dimension Value 2 (cost unit) .
As described above, the dimensions can be configured in the Accounting setup. For example, dimensions 5 and 6 can also be used for cost center and cost unit. Setting up the data tools will then be necessary to ensure that the values are passed to the correct dimensions.
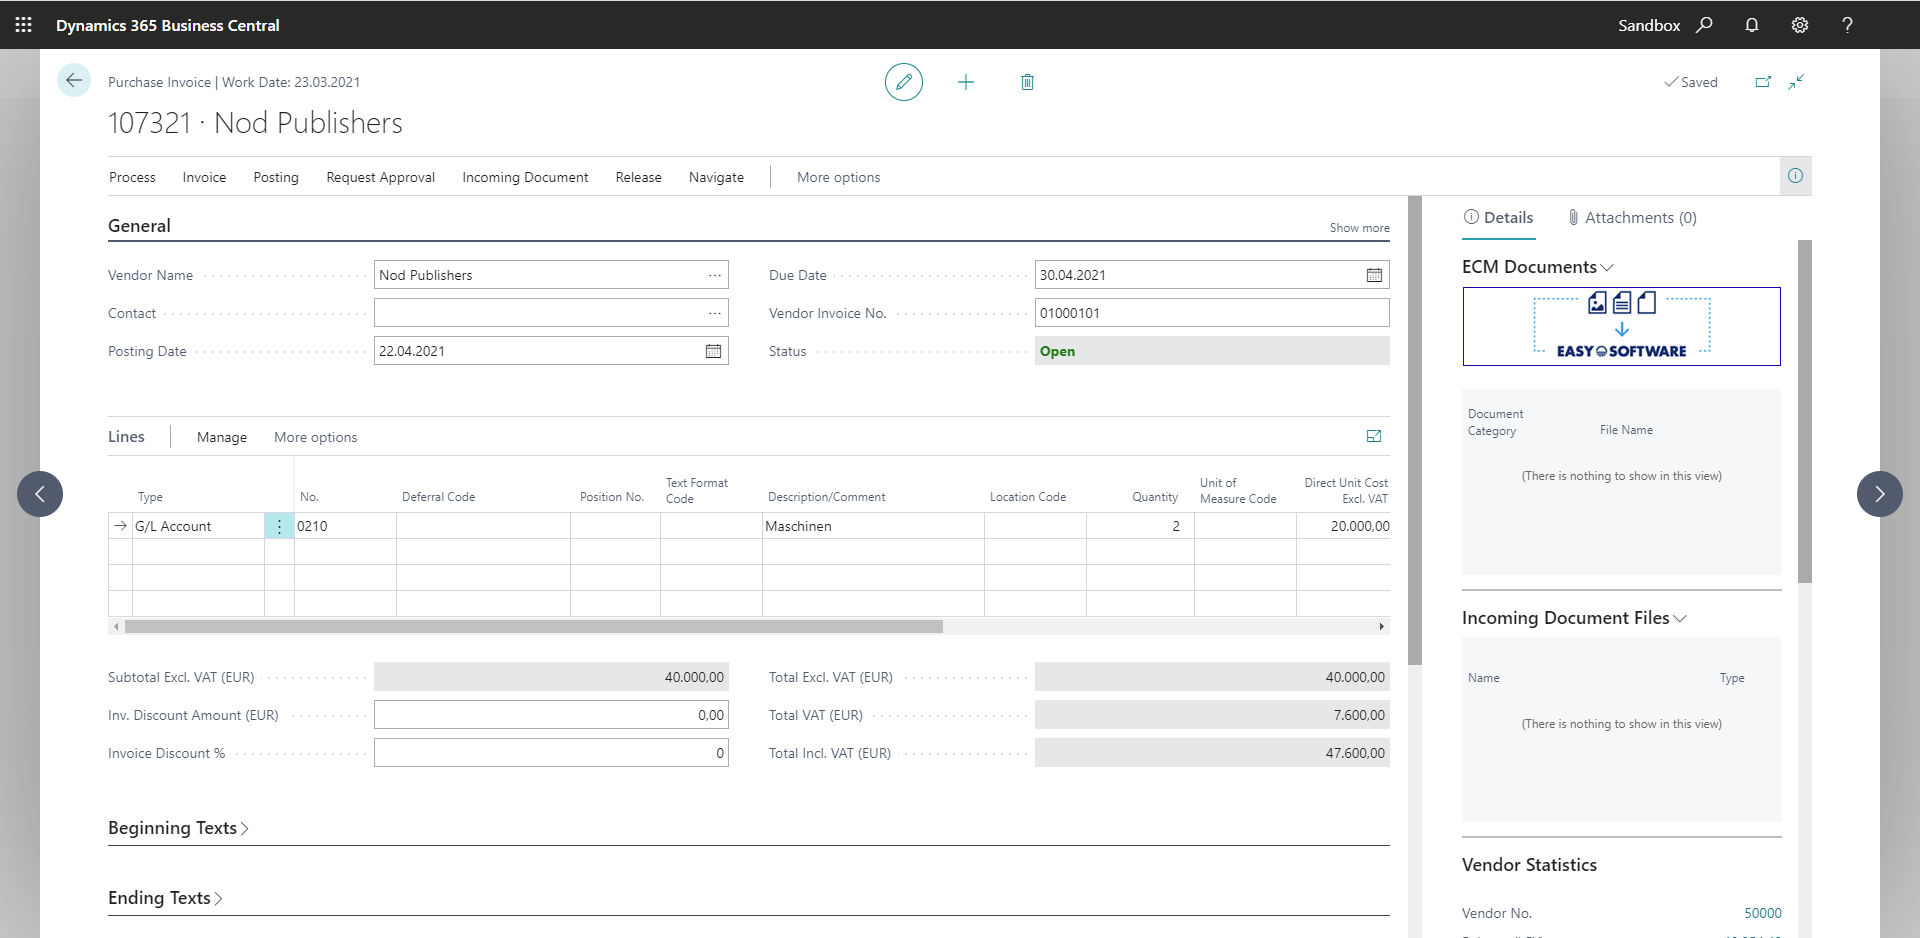
On the Business Central page, unposted purchase invoices are now generated in our example in which, at line level, the Invoice values Cost center are written in the "Shortcut Dimension 1 Code" field, and Cost unit in the "Shortcut Dimension 2 Code" field.
Extending fields for Web services
If the requirement is to provide more Business Central metadata to EASY Invoice, the Web services can be extended. This is performed such that the page published in the Web service is customized/personalized. To do this, an administrator user is required. The process is a Business Central standard feature; it is described in greater detail here.
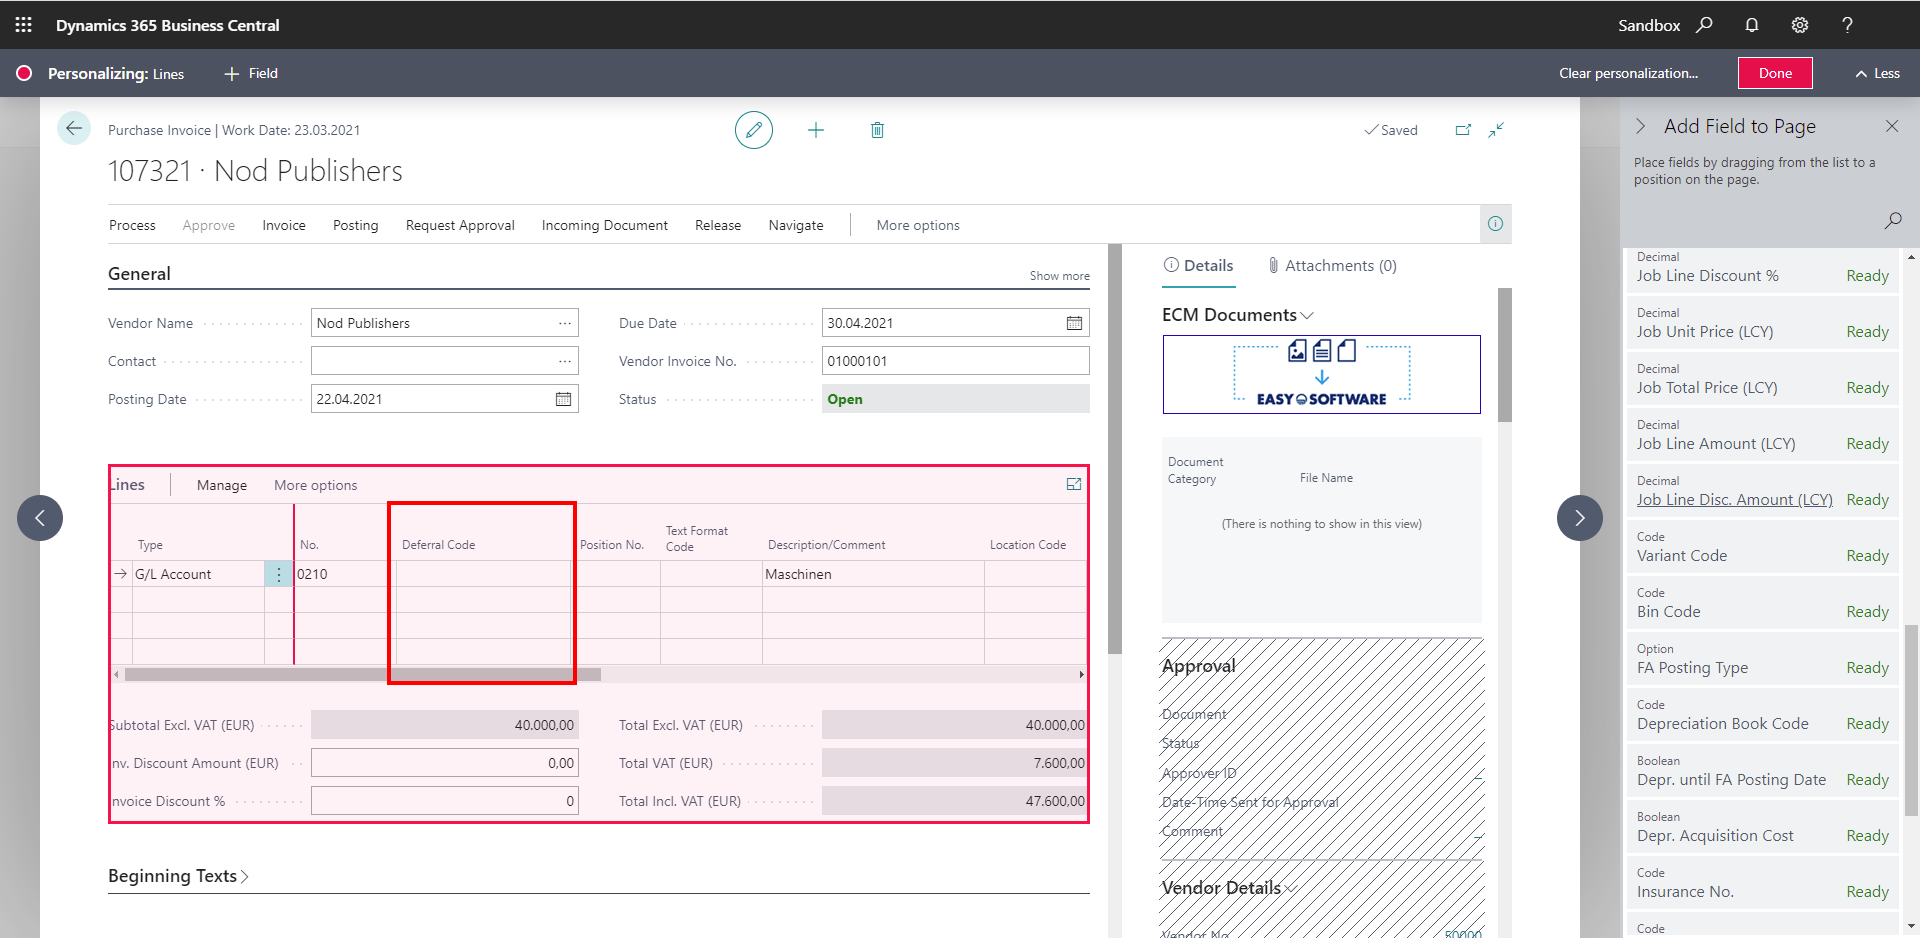
Example: Extending the purchase invoice lines with the "Differentiation code field
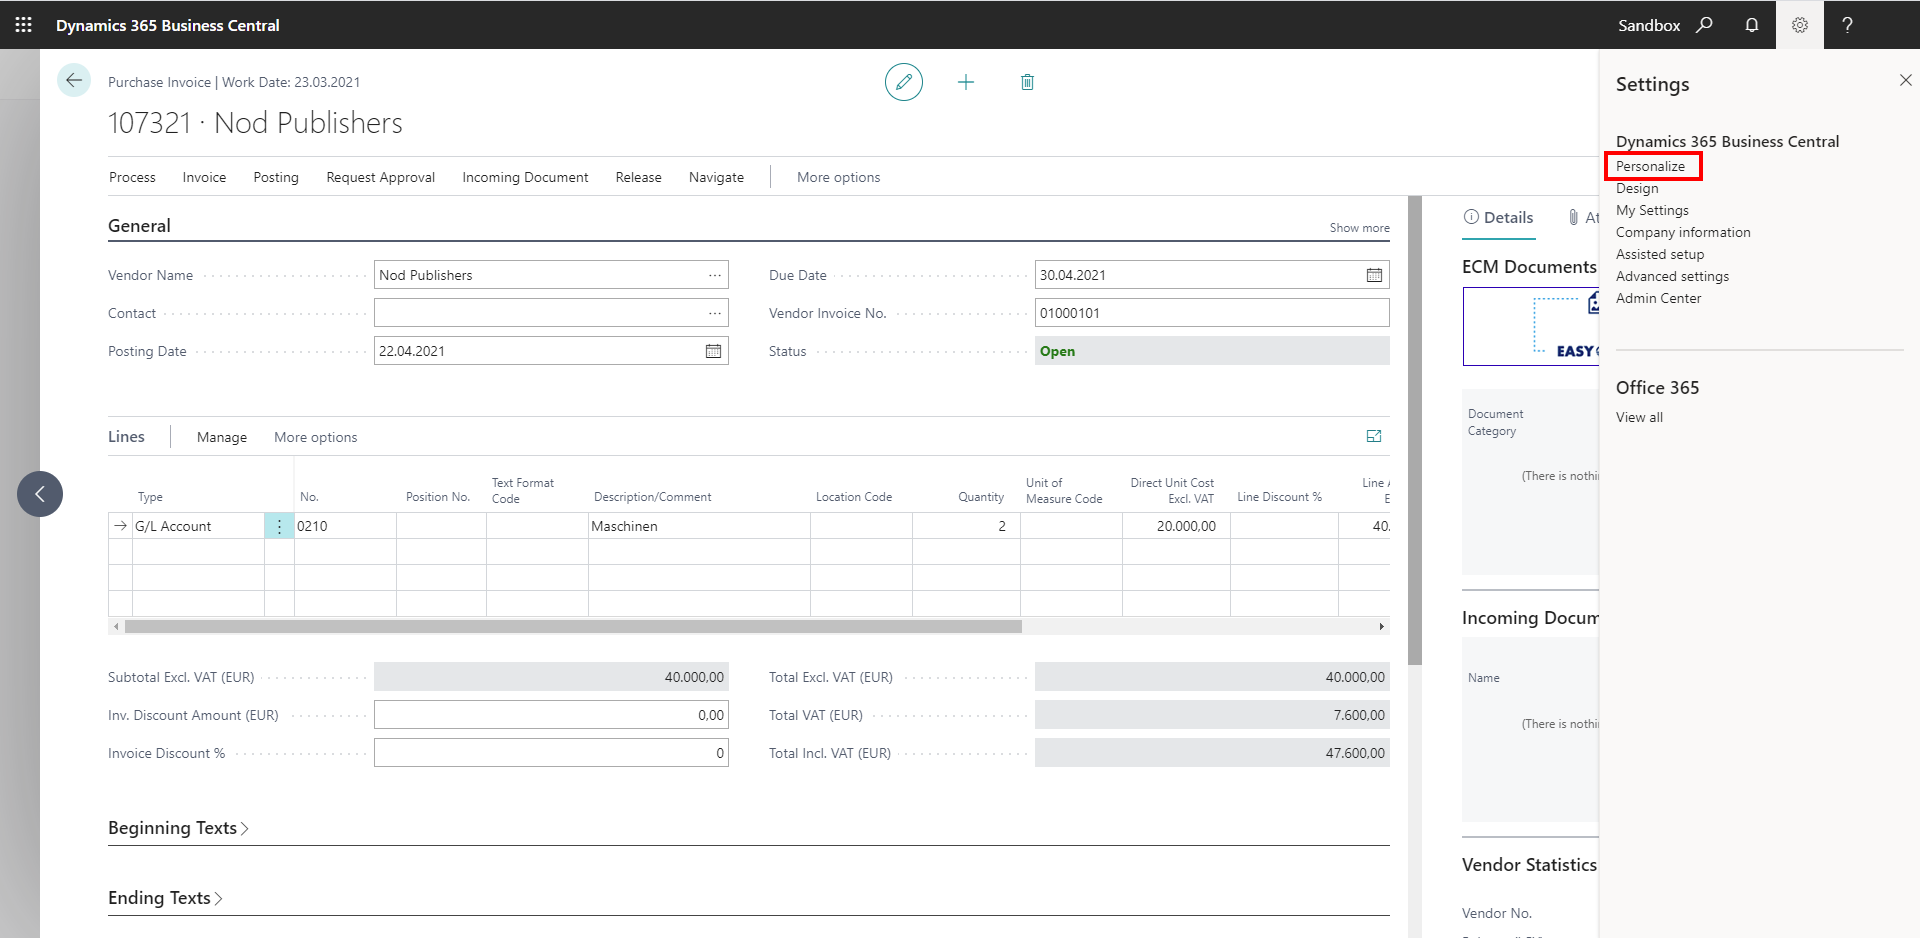
First, you have to open the page published in the Web service to customize it.

The settings option Personalize lets you customize the page.
The Being personalized bar now shown indicates that the page can now be edited.
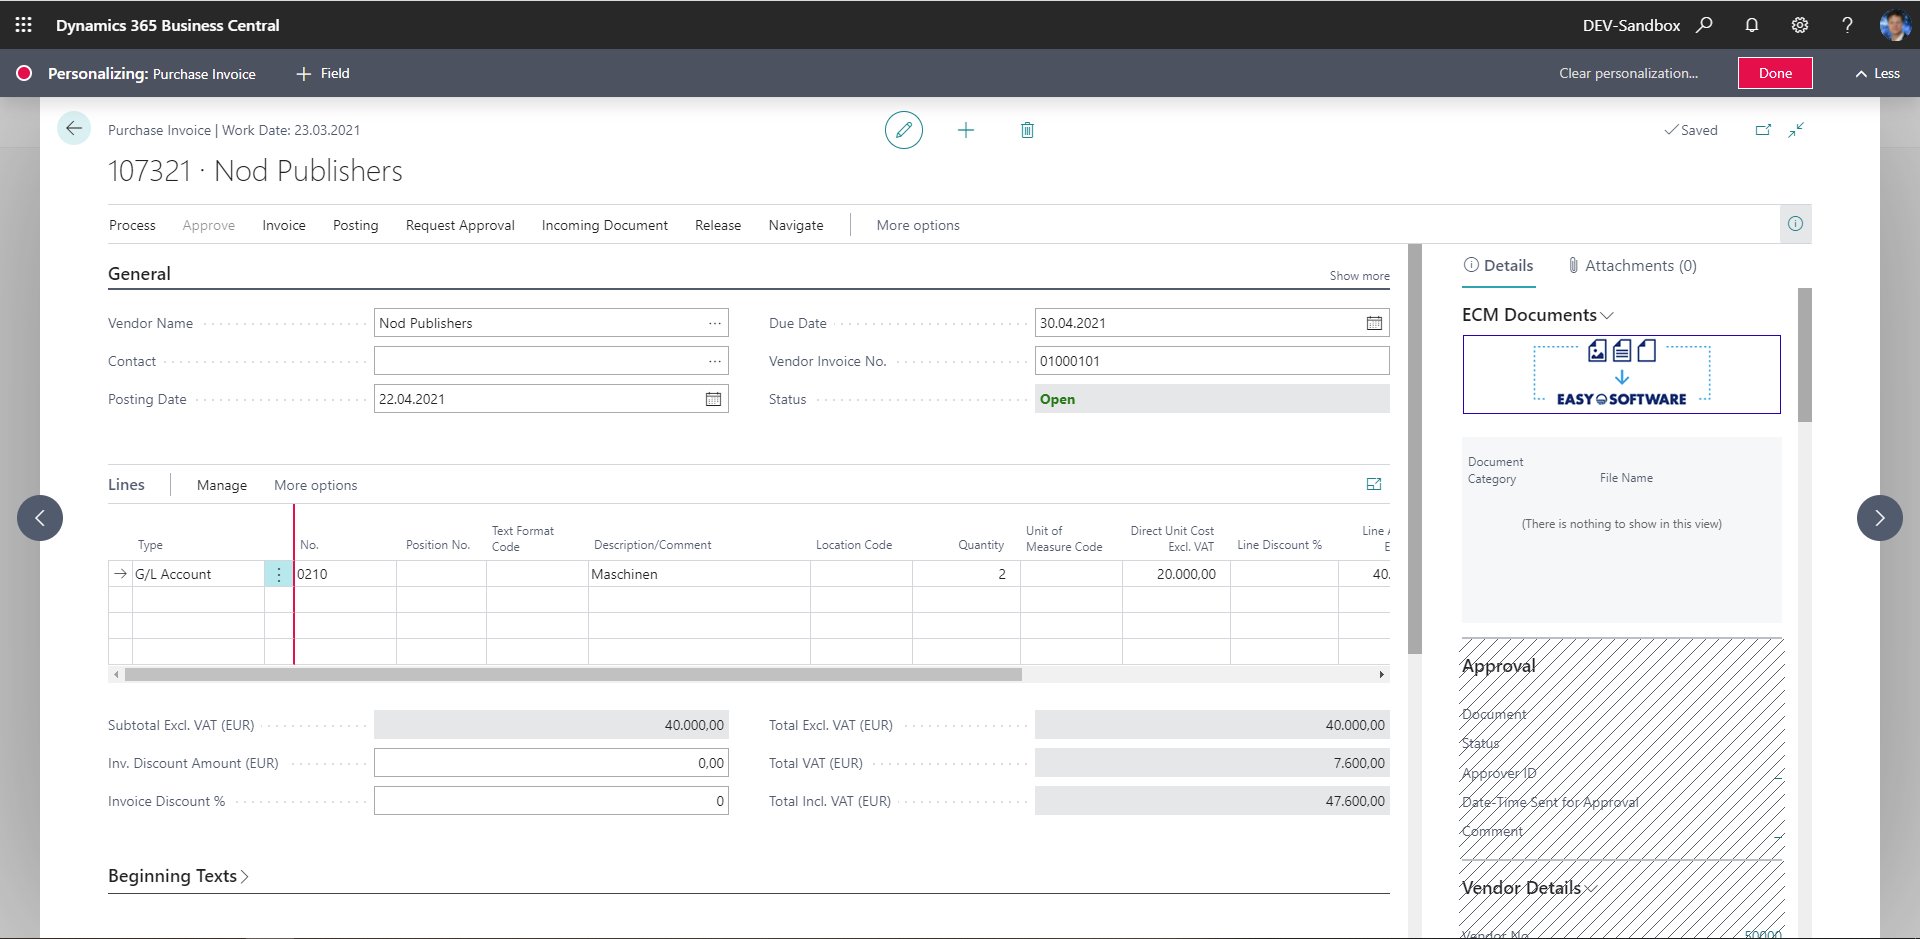
By clicking the +Field button, the columns of the page or page portion are displayed on the right. These can be added.

Drag & drop lets you insert the desired field, in this case Differentiation code, into the desired place on the page.
By clicking Finish, edit mode terminates and the changes have been applied. At this time, the additional field is also published in the Web service that refers to this page.