Archive Server Configurations
Setup in EASY Archive
EASY for Dynamics 365 Business Central (end user) licenses
In the event of subsequent licensing of an existing system, you have to upload a new EASY license, extended with the EASY for Dynamics 365 Business Central (end user) licenses, on to the archive server at the beginning of installation. All active EASY programs and services on the EASY server must be shut down first. After shutdown, in the eex\config (for EASY Archive 6) or C:\ProgramData\EASY SOFTWARE\Archive\config (for EASY Archive 7) of the EASY program folder, you have to rename the license file to license.old, and copy the new license file license to it. All services can then be restarted.
For new systems, you need to ensure that the EASY license contains the corresponding user licenses.
For more information about licensing, please refer to our license terms for EASY for Dynamics 365 Business Central.
Setting up Microsoft SharePoint
Document Library
A document library for the storage of documents must first be created in Microsoft SharePoint.
Creating site columns and site content types
Site columns must be created for the SharePoint library. They are used to store metadata, and are grouped by content type. A content type represents a document type, e.g. Correspondence, Log, etc. The 365 BC fields can later be mapped to site columns in EASY for Dynamics 365 BC based on these content types.
The specified content type of a document is also applied for the document when uploading it, so documents can also be filtered by content type in Microsoft SharePoint.
The following terms are used when using EASY for Dynamics 365 BC interface:
Site Column = Metadata Field
Content Type = Metadata Schema
Register an app for Microsoft Sharepoint in the Azure Portal to use the odata API
Steps may change - check out this guide: Quickstart: Register an app in the Microsoft identity platform - Microsoft identity platform | Microsoft Learn.
- Login in the azure portal
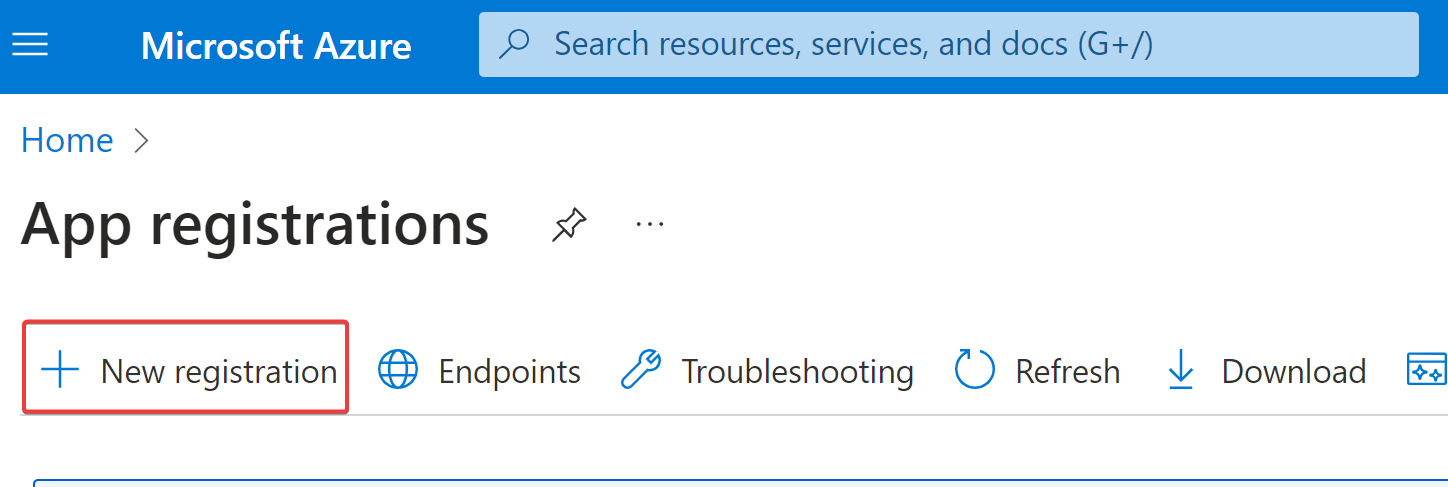
- Switch to "App registrations" and select "New registration":
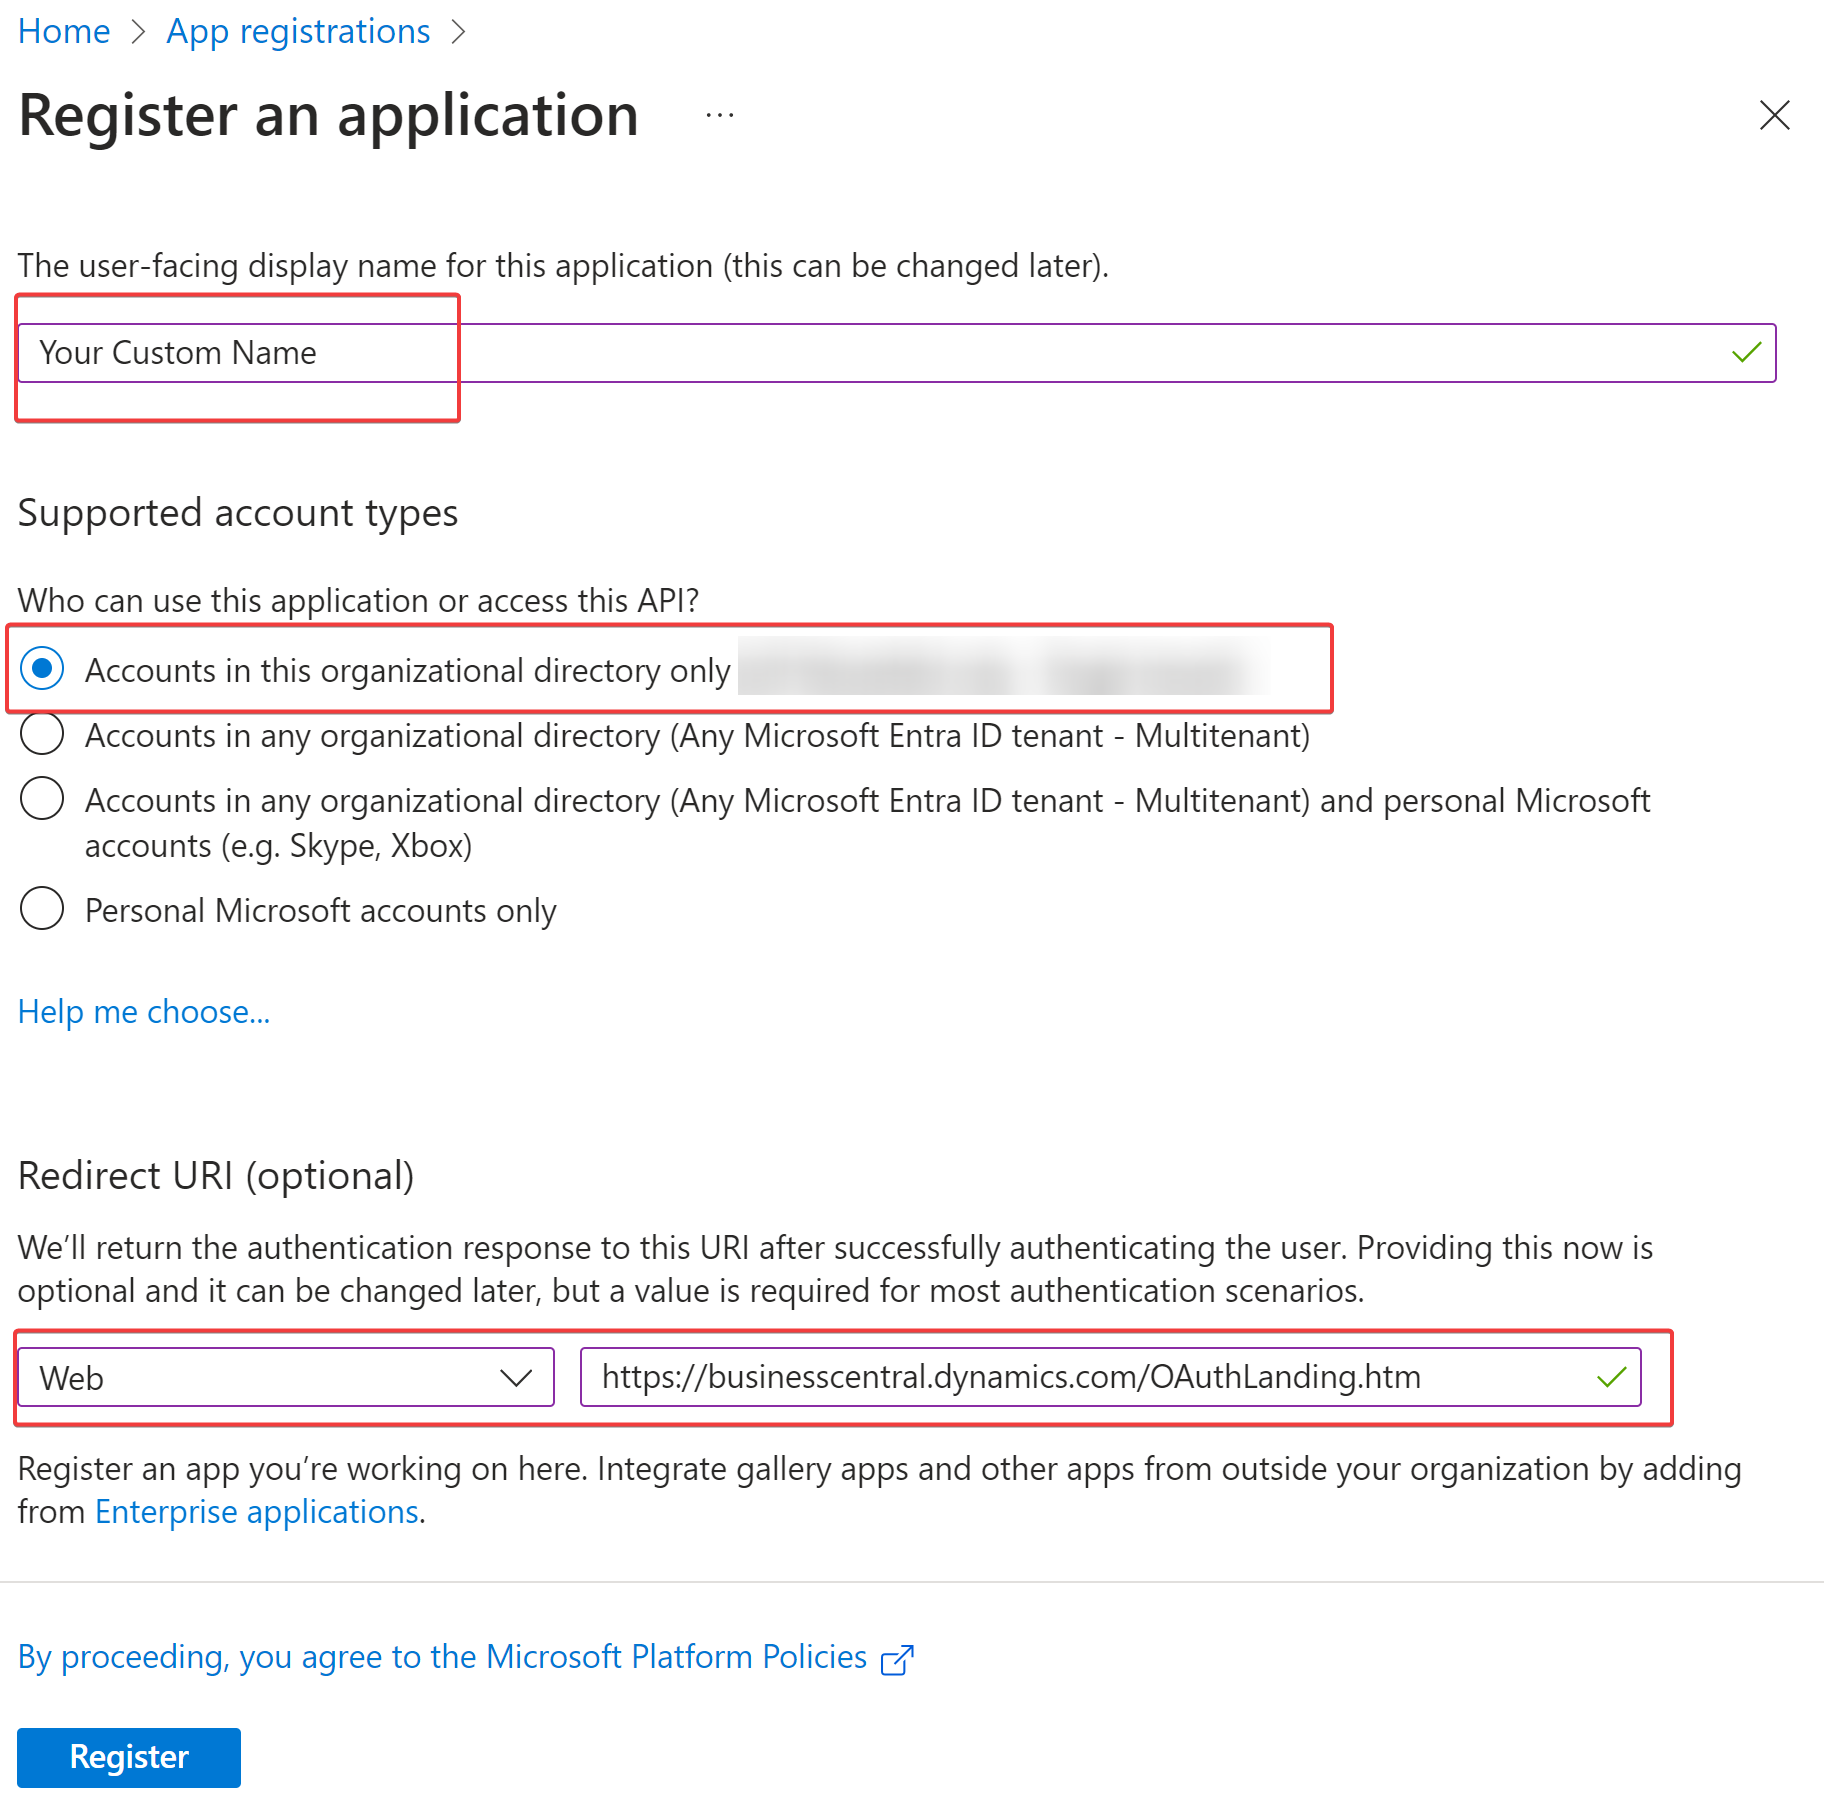
- Give a new, individual name and enter the correct Callback-URI (the example here is for BC Cloud, OnPrem may be different to your setup):
Sharepoint Client Secret
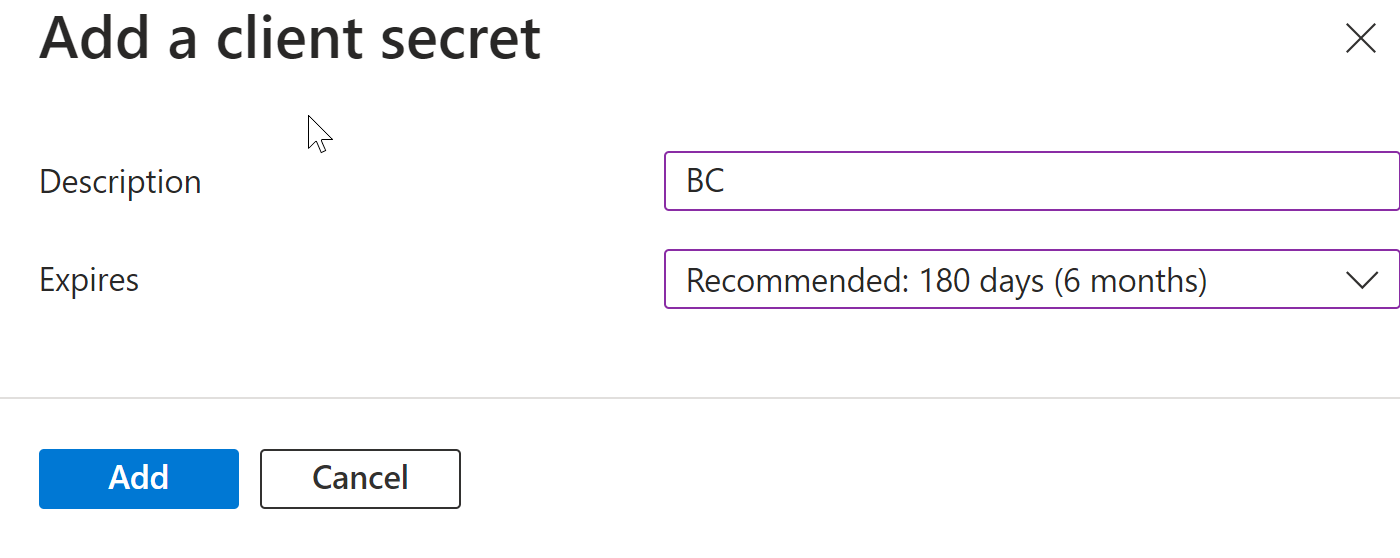
- Create a new "client secret" in the "Certificates & secrets" menu with your custom name and desired expiration date:

Copy the value of the secret and save it somewhere, as this value only shows once and you will need it to finish the setup in BC later: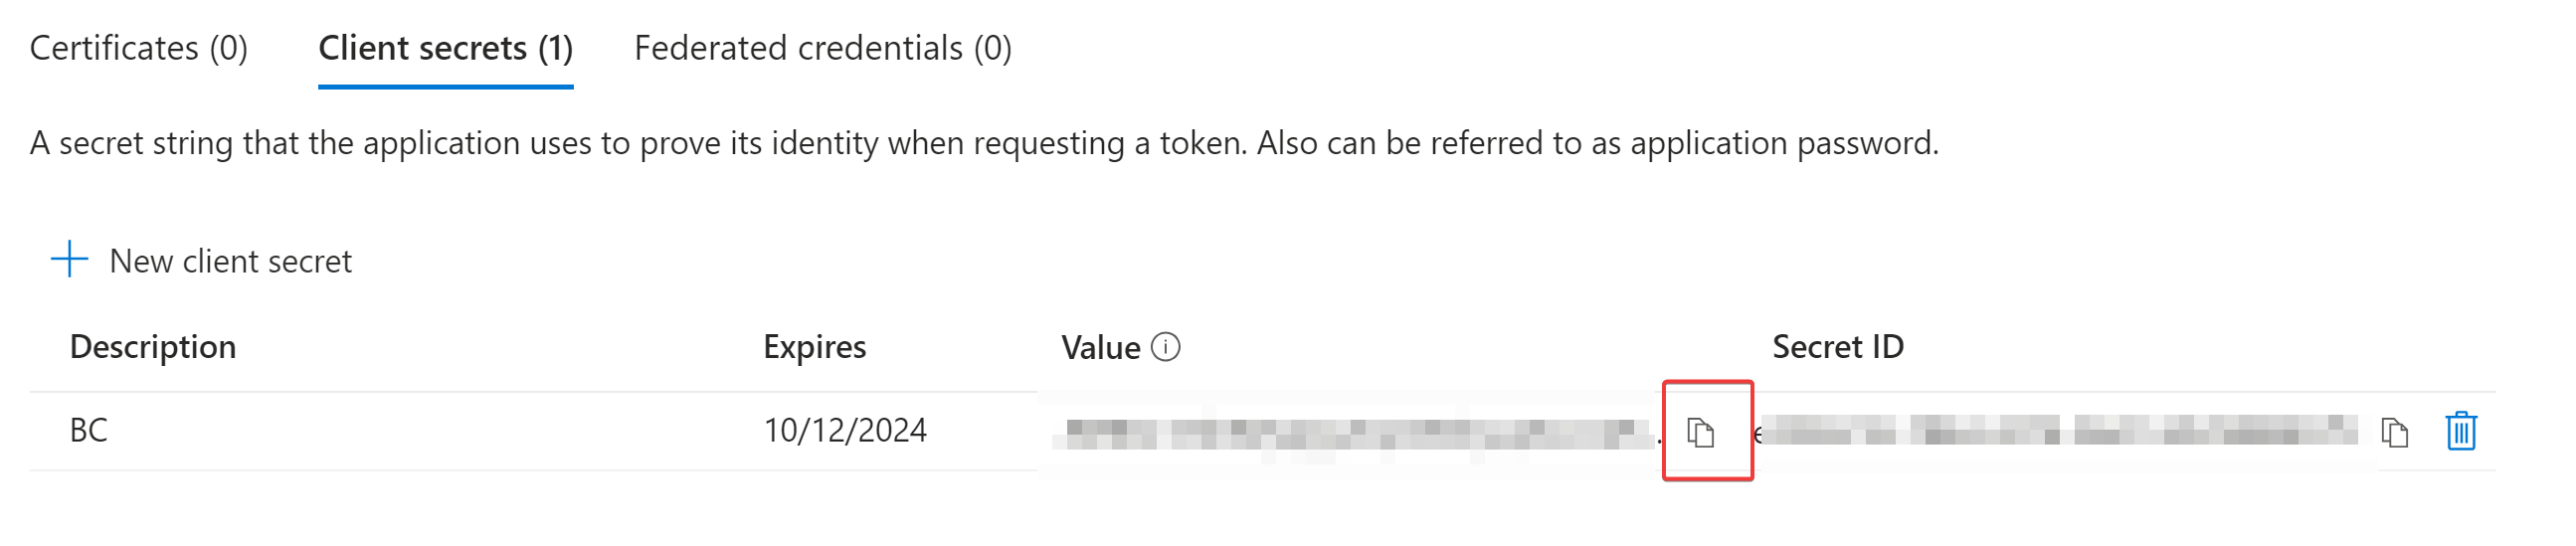
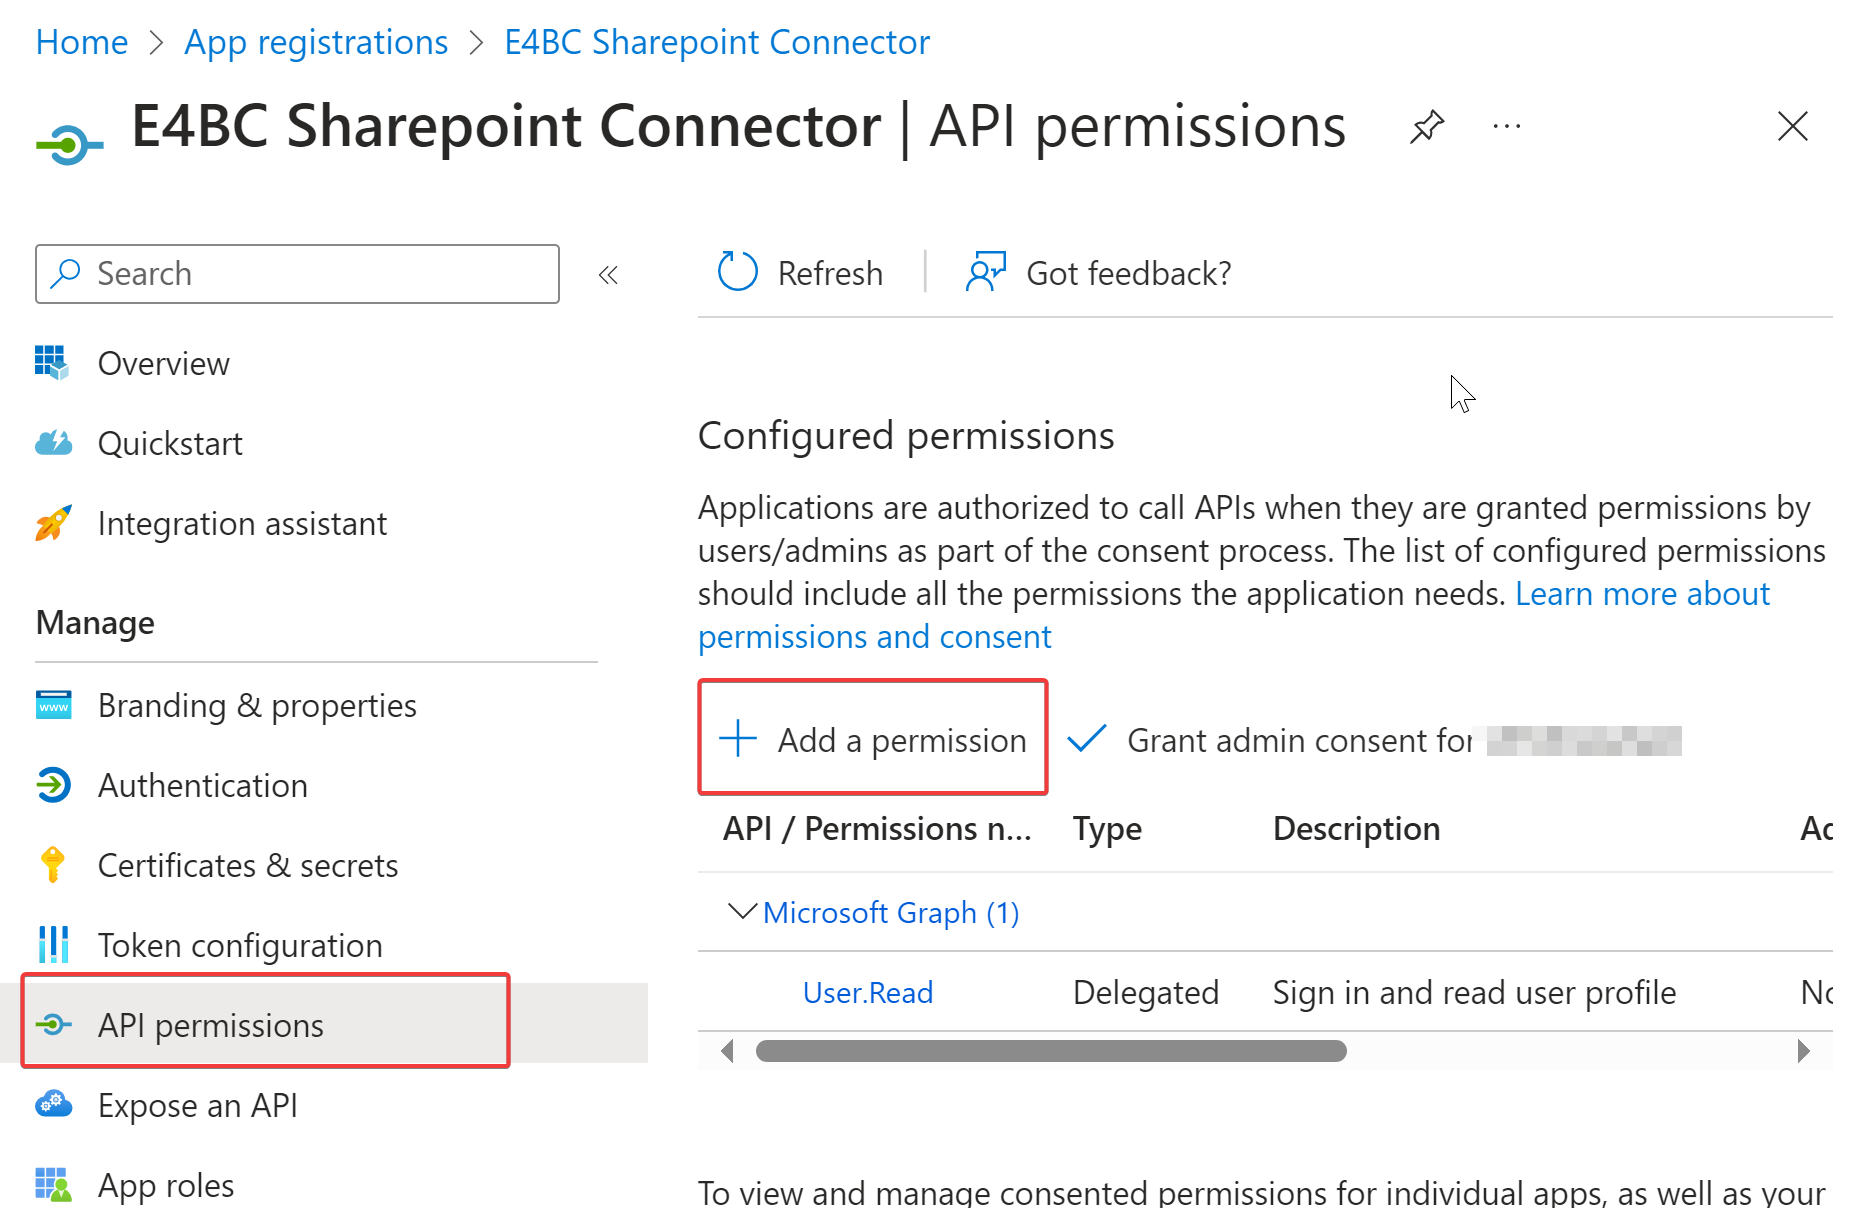
- Add "API Permissions":
Sharepoint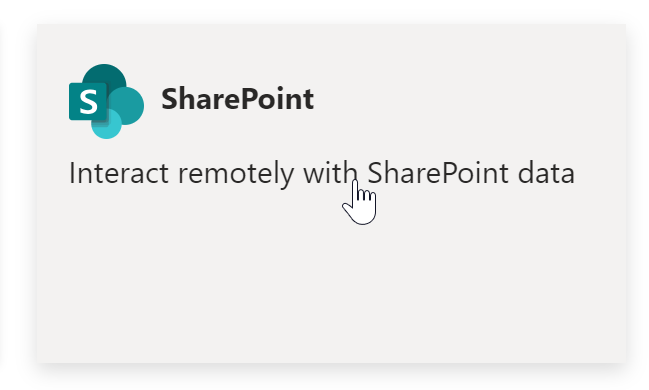
Delegated → AllSites.FullControl → Add Permissions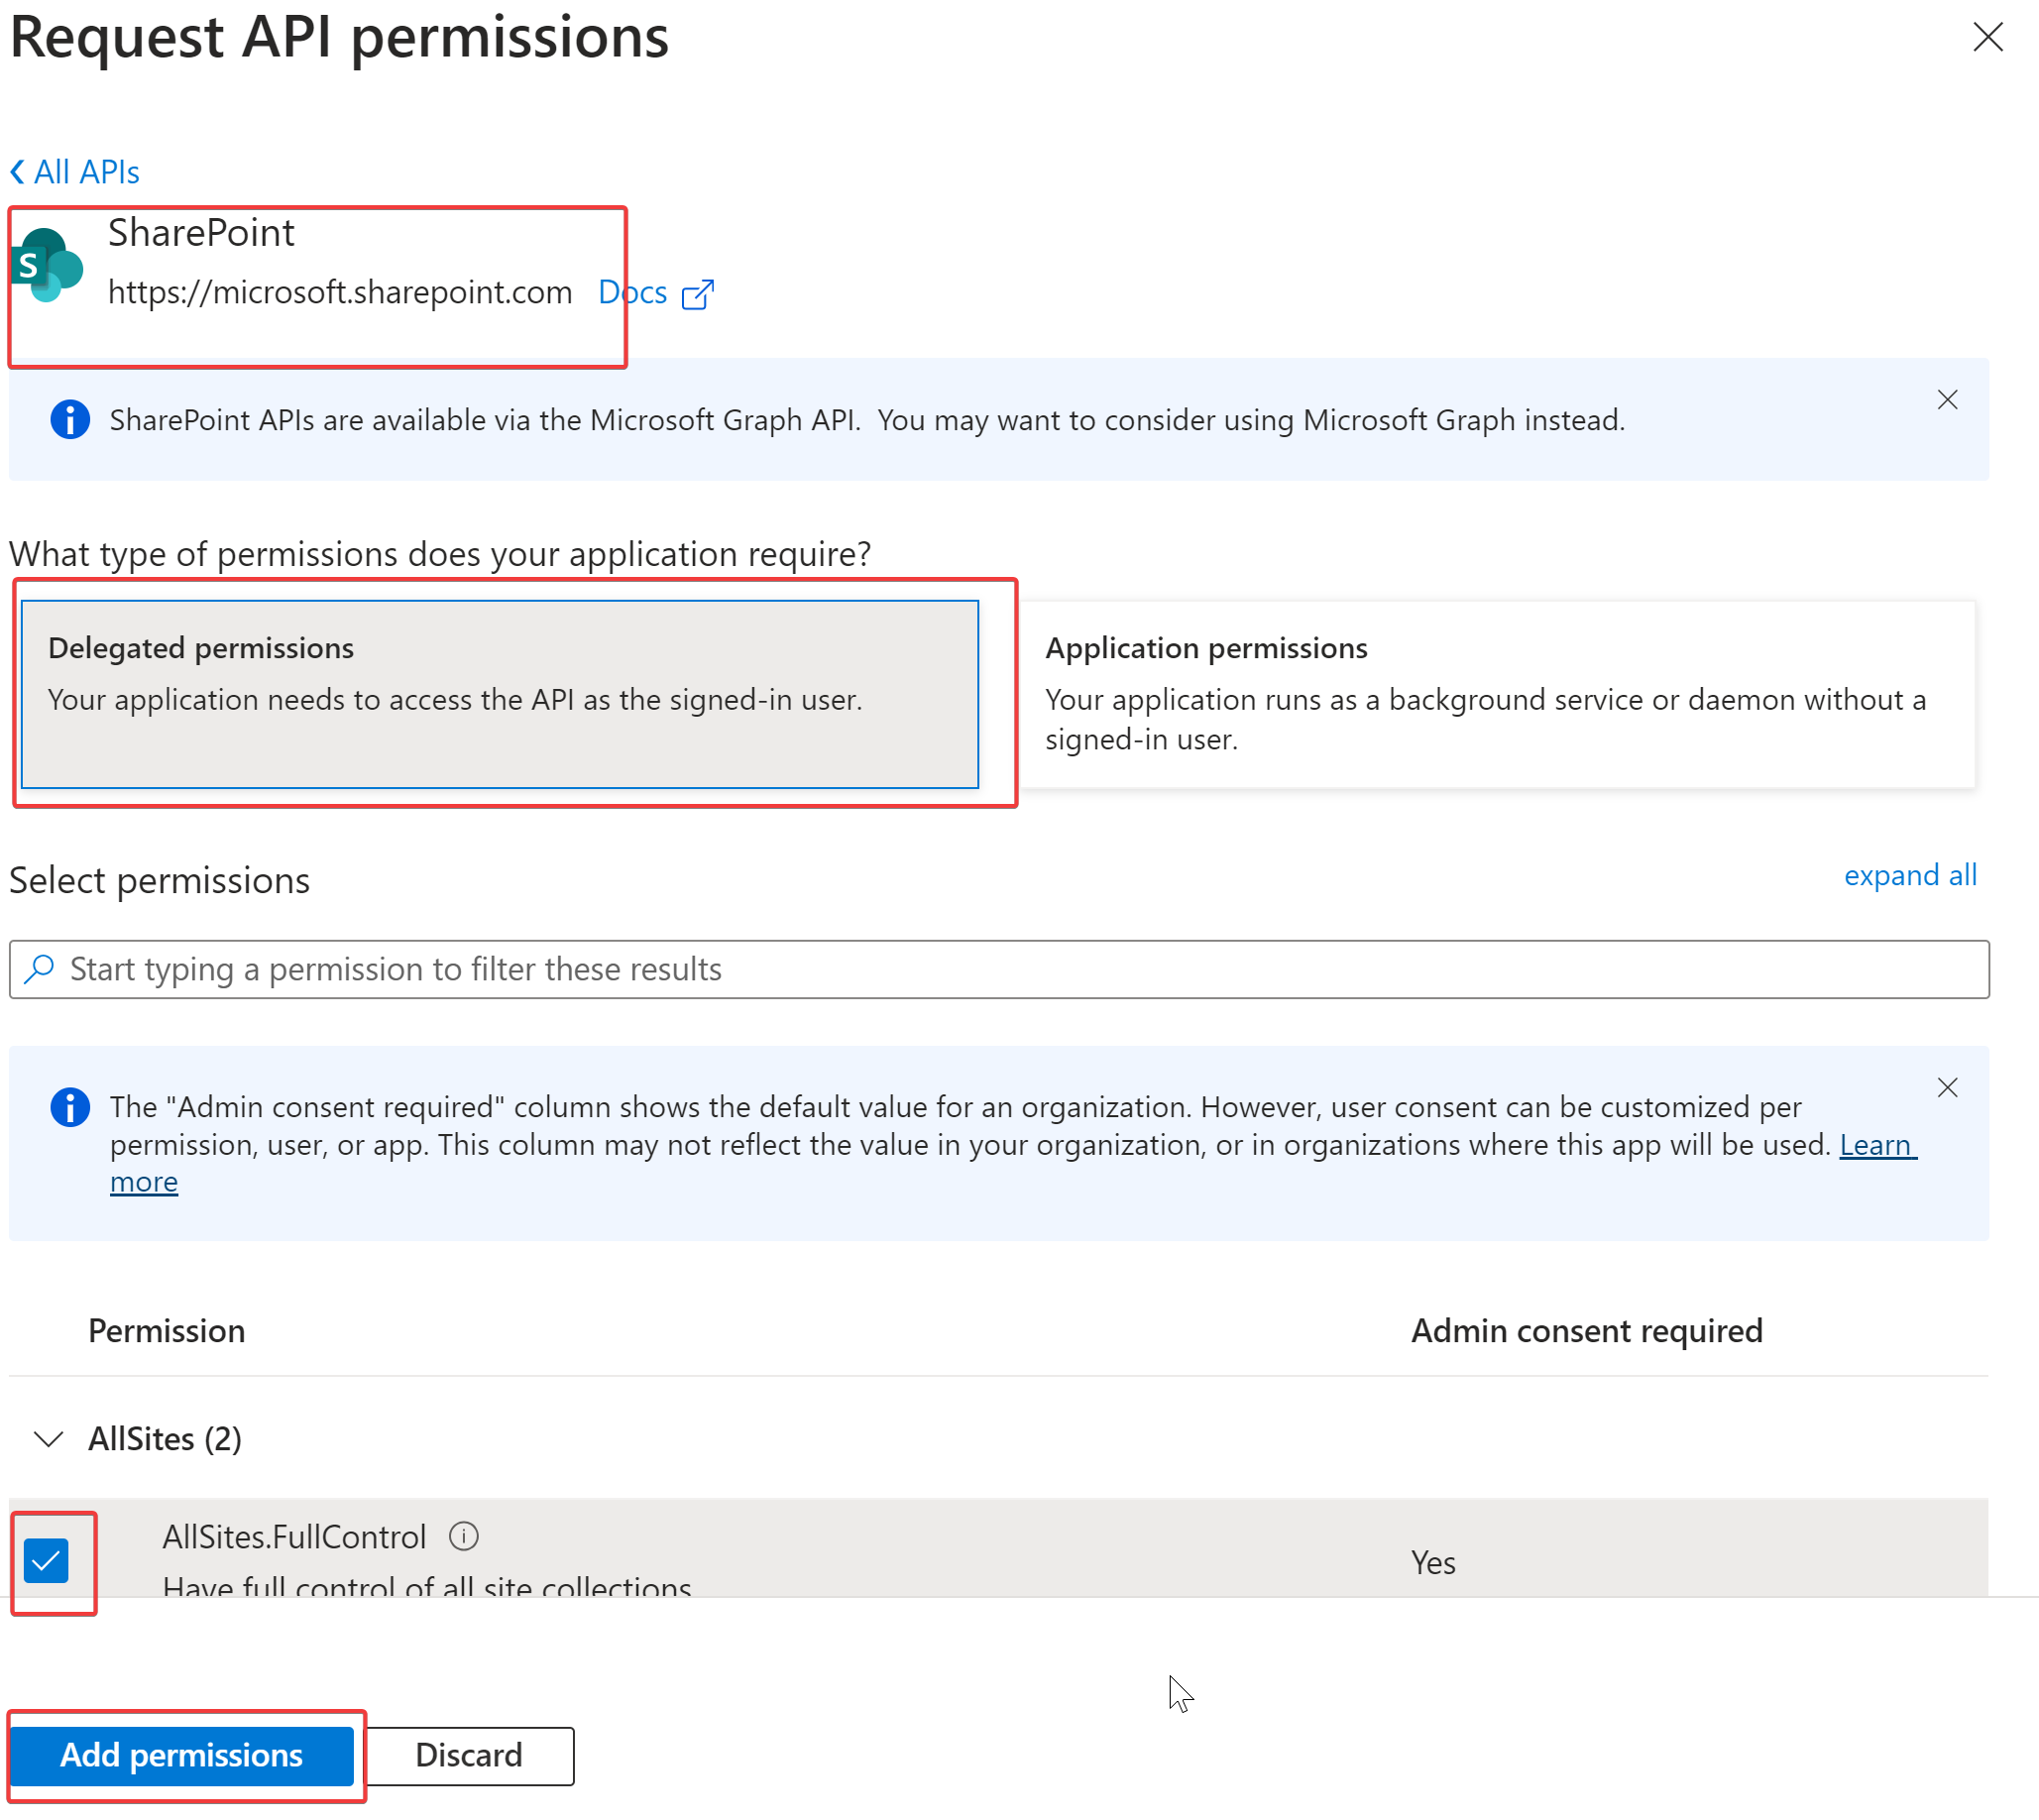
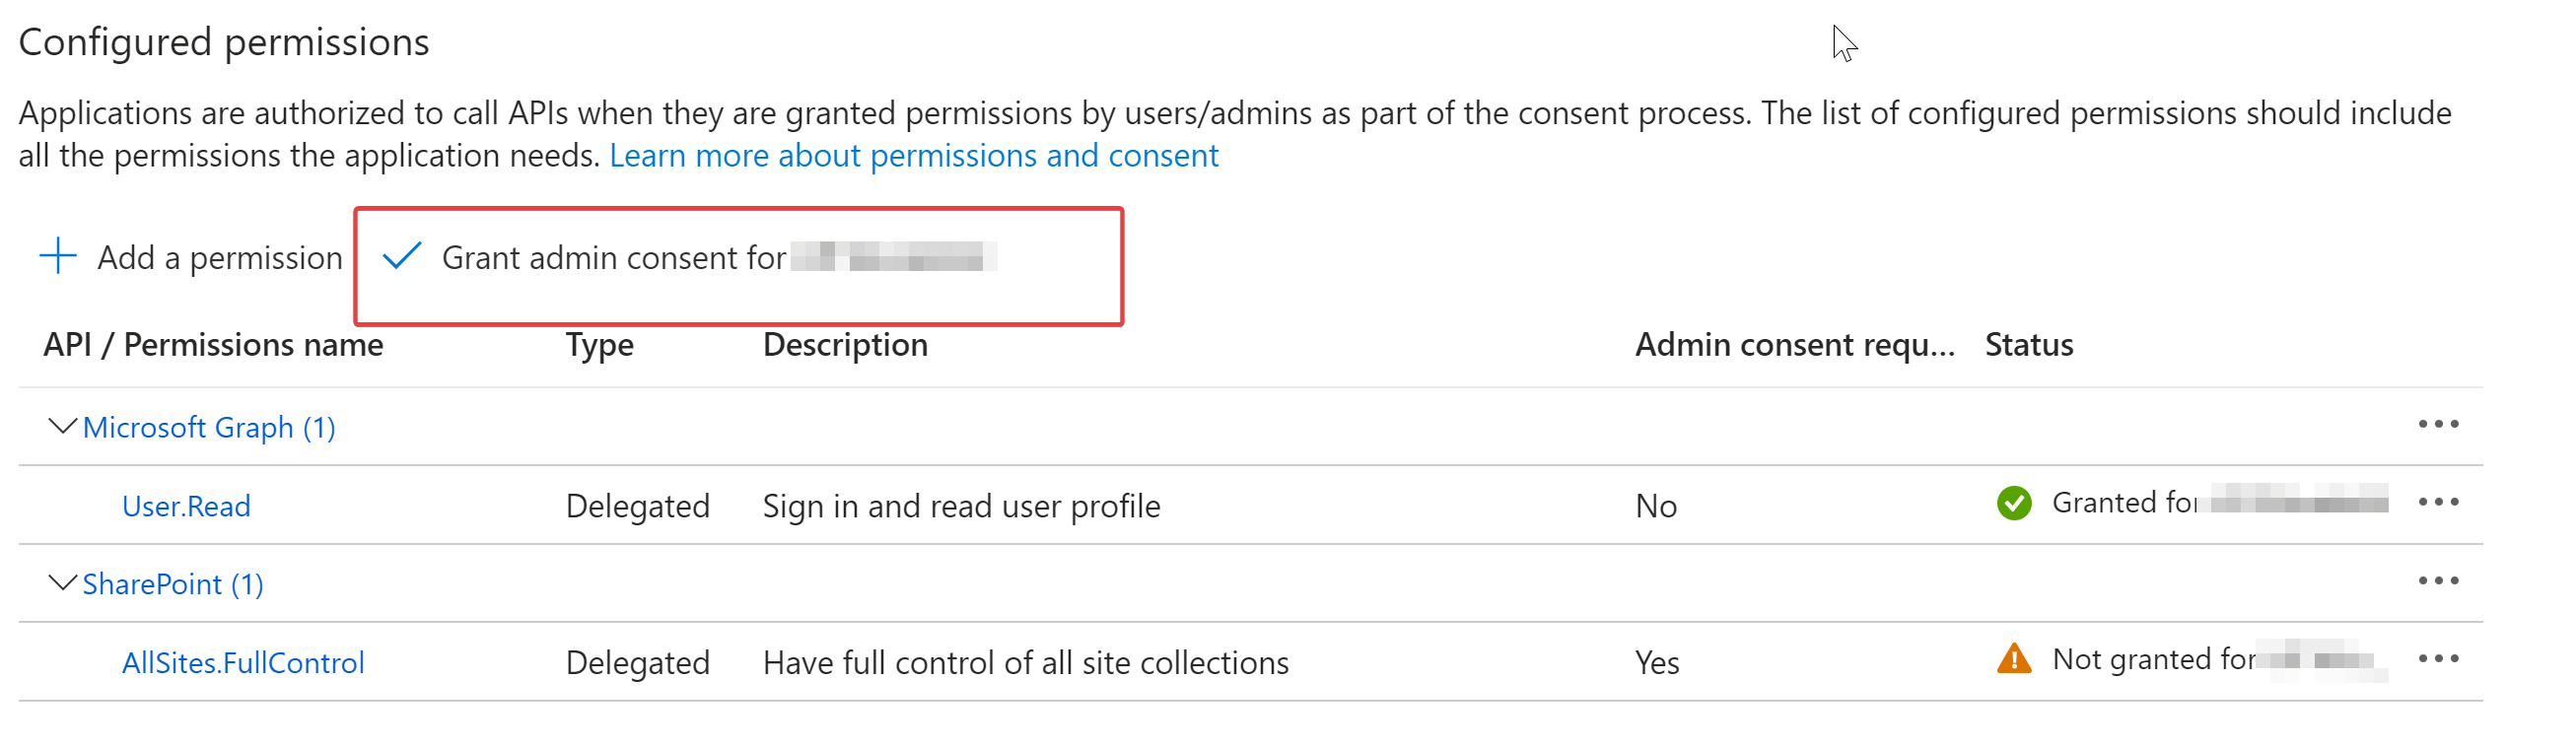
- Give the Admin Consent:
- Copy data from "Overview":
"Application (client ID)"
"OAuth 2.0 authorization endpoint (v2)"
"OAuth 2.0 token endpoint (v2)"
- Enter it in BC: "ECM Server"-Card:
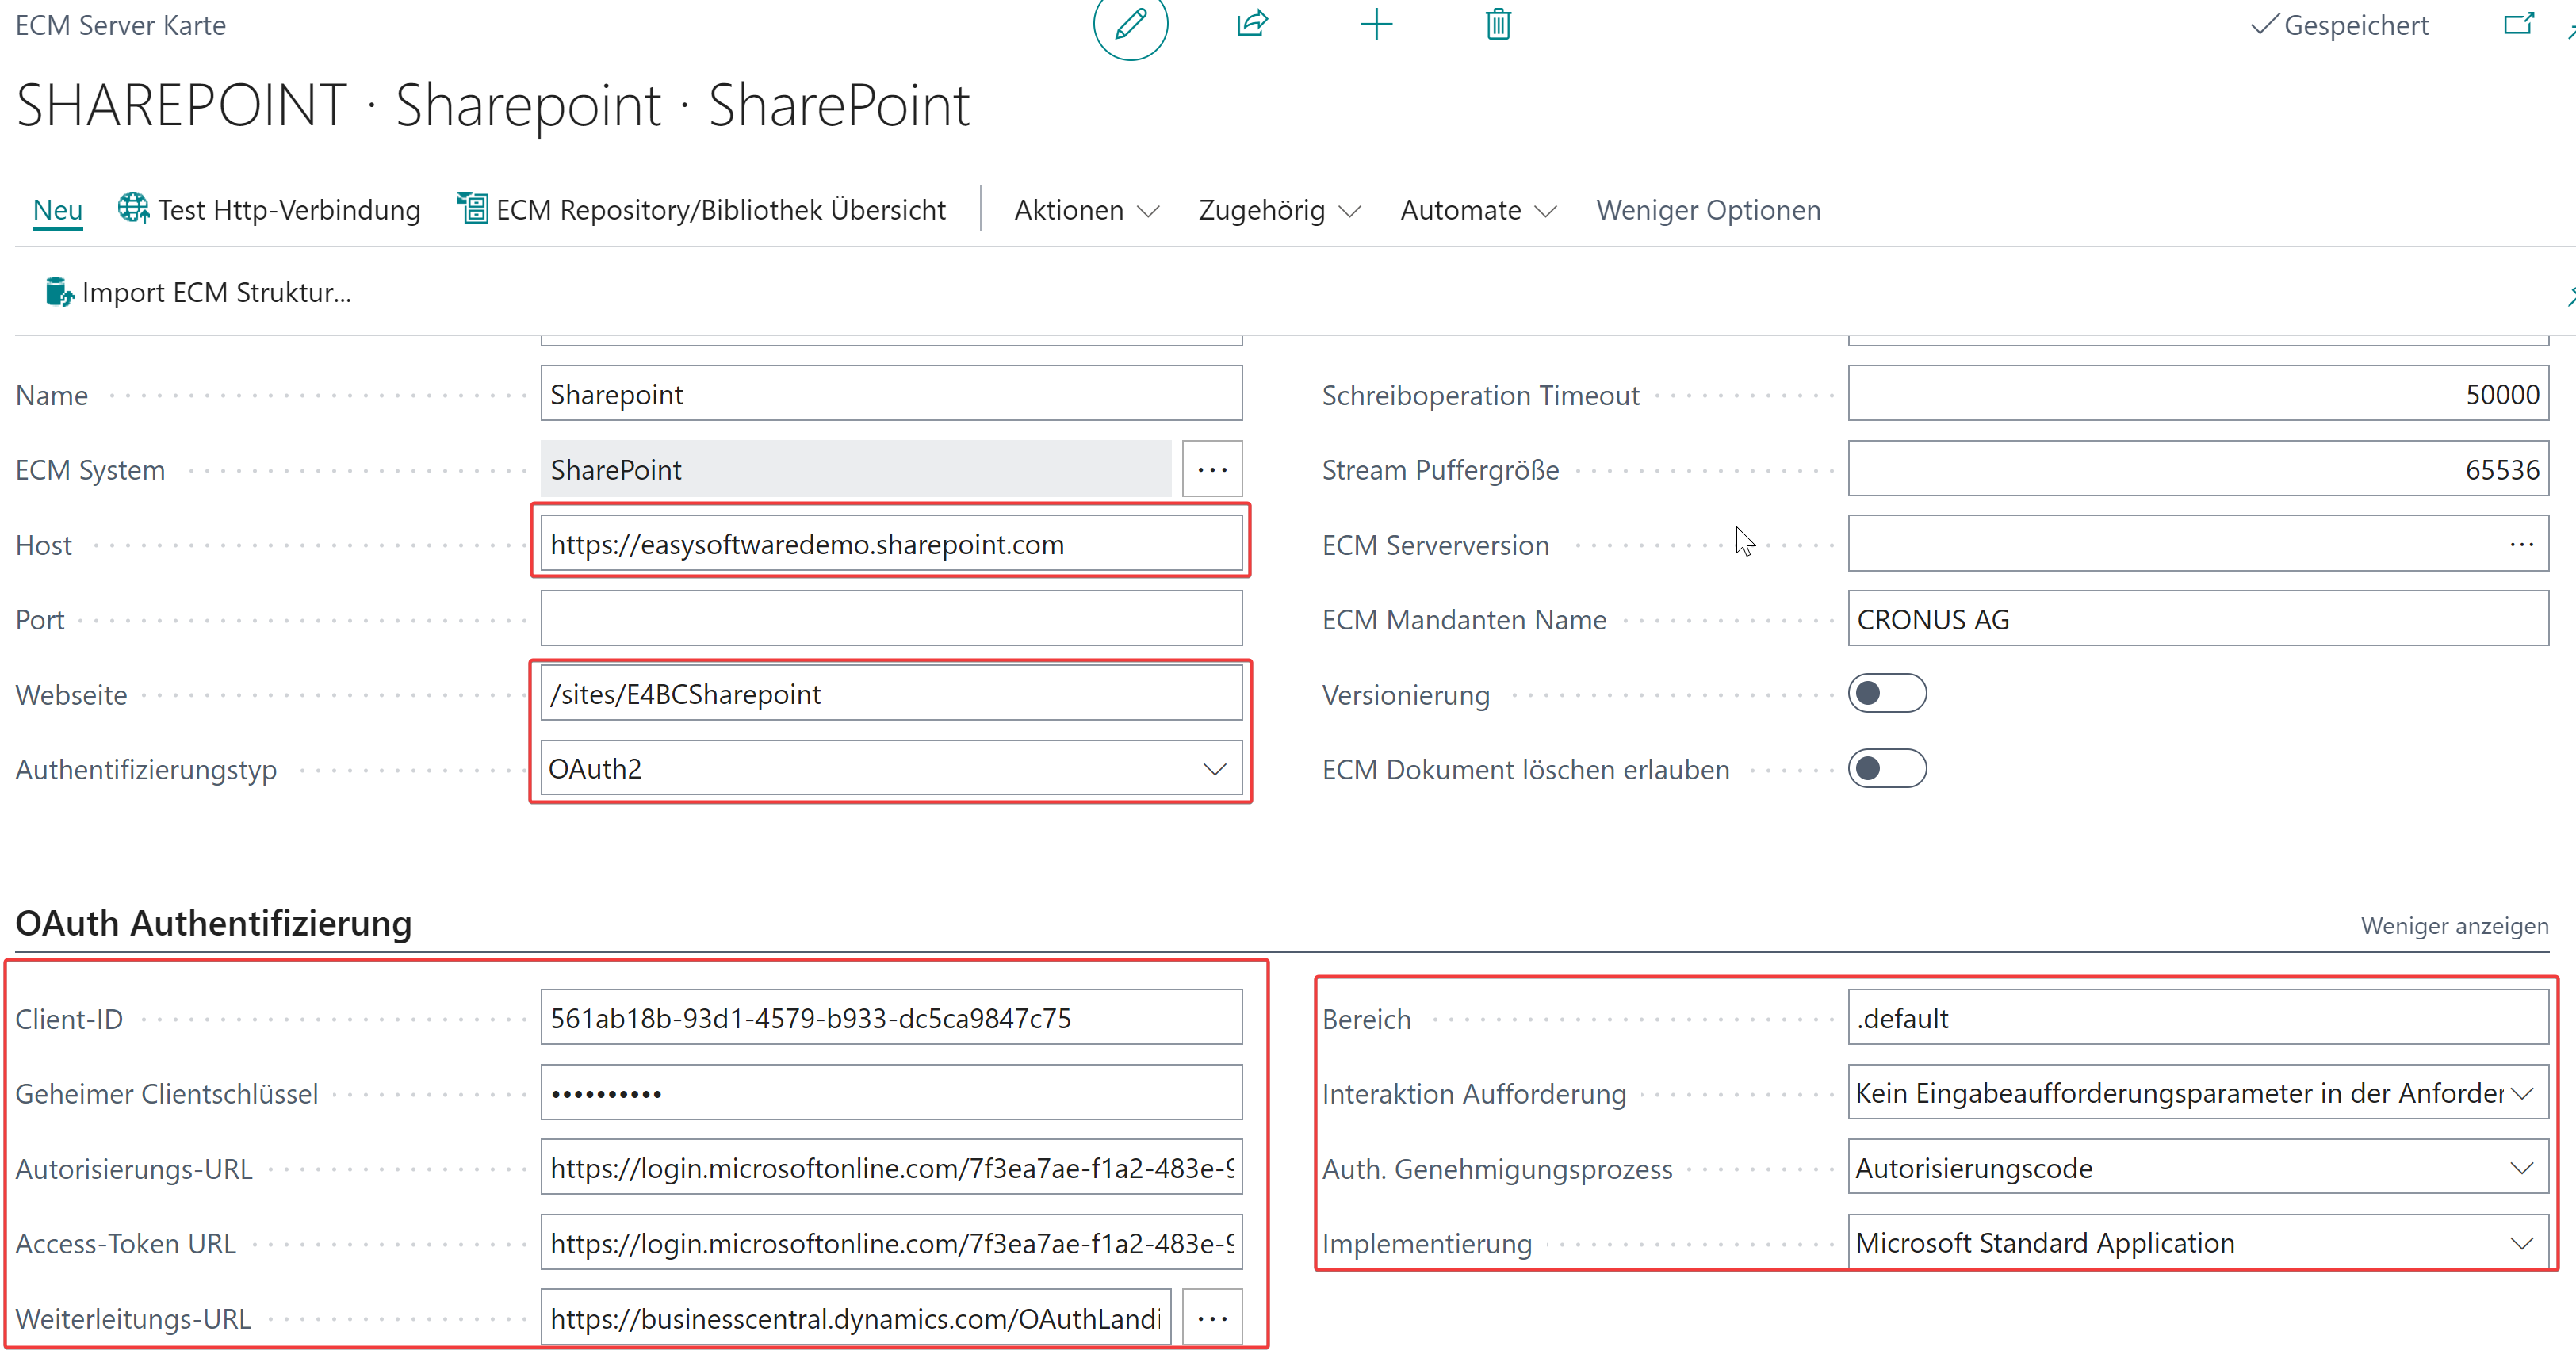
Host = Base URL
Website = Sharepoint Site
Client ID = "Application (client id)" of step 7
Geheimer Clientschlüssel = Client Secret of step 4
Autorisierungs-URL = "OAuth 2.0 authorization endpoint (v2)" of step 7
Weiterleitungs-URL = "OAuth 2.0 token endpoint (v2)" of step 7
Scope = .default
Auth. Process = Authorization Cdoe (recommended für Users)/Client Secret (recommended for background services like NAS, Job Queue)
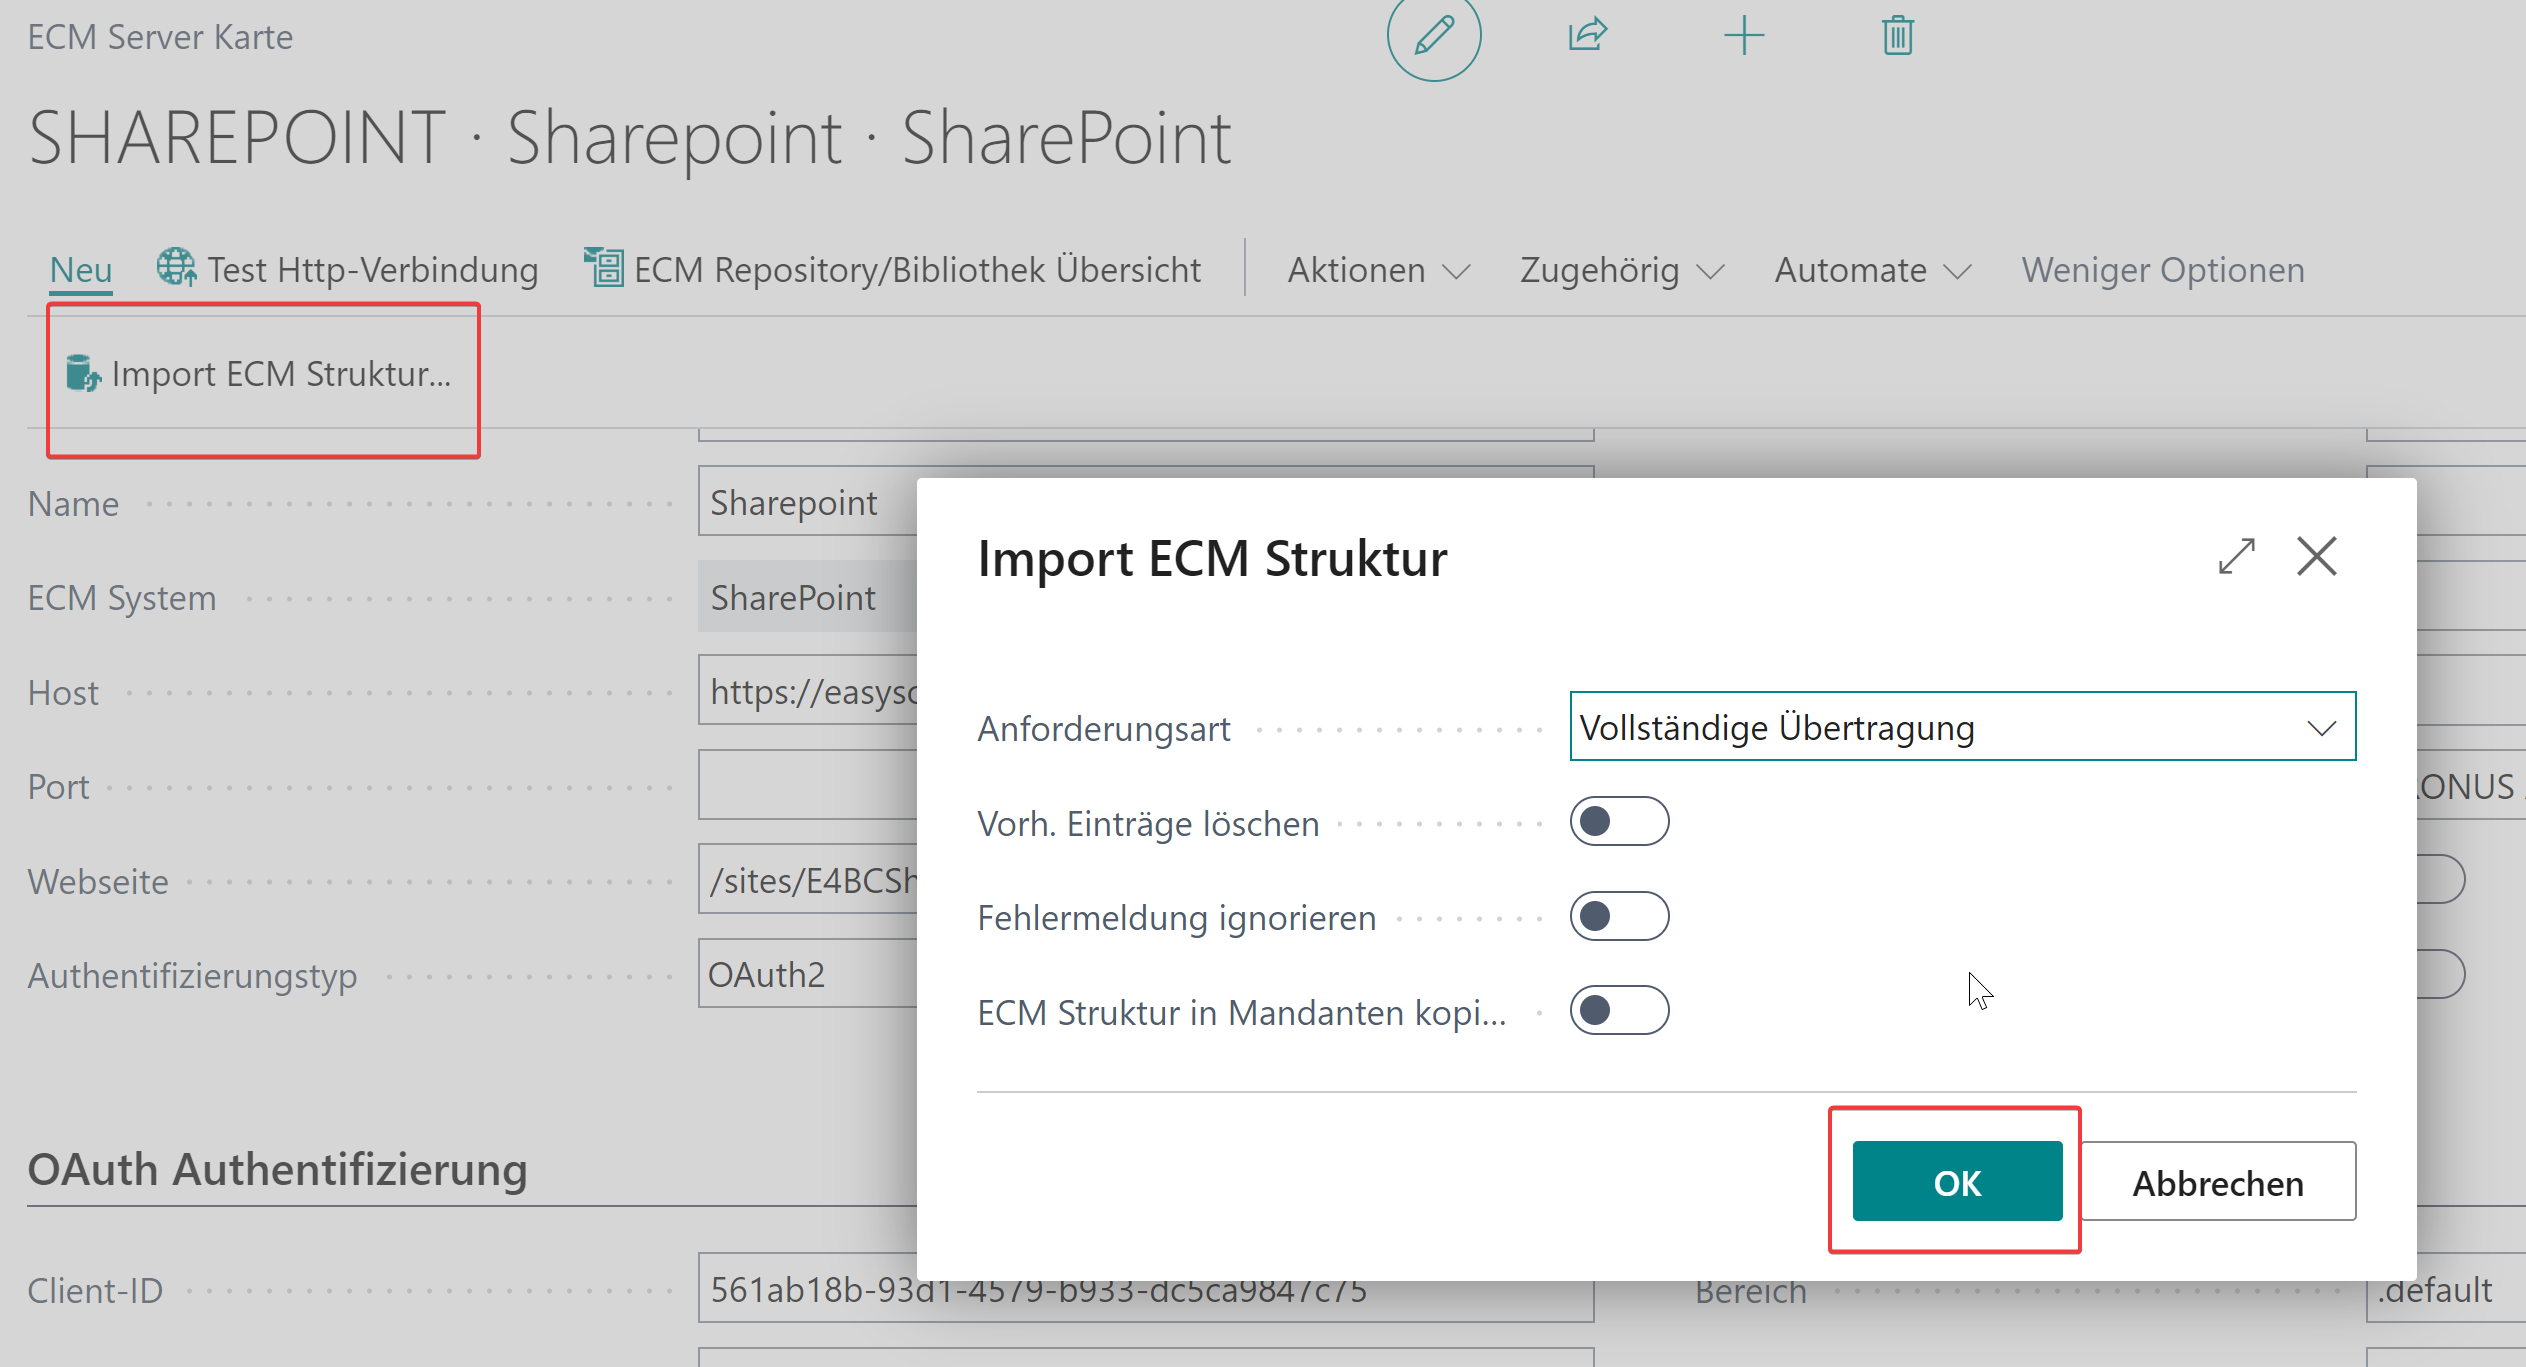
Implementation = Microsoft Standard Application - Import of the ECM Structure:
Sharepoint Client Certificate
Create a new certificate, for example with this script. The password is optional:
PowerShell$certificateExportFolder"C:\temp\sharepoint"$cert= New-SelfSignedCertificate-DnsNamelocalhost-CertStoreLocationcert:\CurrentUser\My$pwd=ConvertTo-SecureString-String"P@ss0word!"-Force-AsPlainTextExport-PfxCertificate-Cert$cert-FilePath"$certificateExportFolder\my.pfx"-Password$pwdExport-Certificate-Cert$cert-FilePath"$certificateExportFolder\my.cer"- In the menu "Certificates & secrets" select "Certificates" and upload the certificate (my.cer)
- In Business Central update the "ECM User":
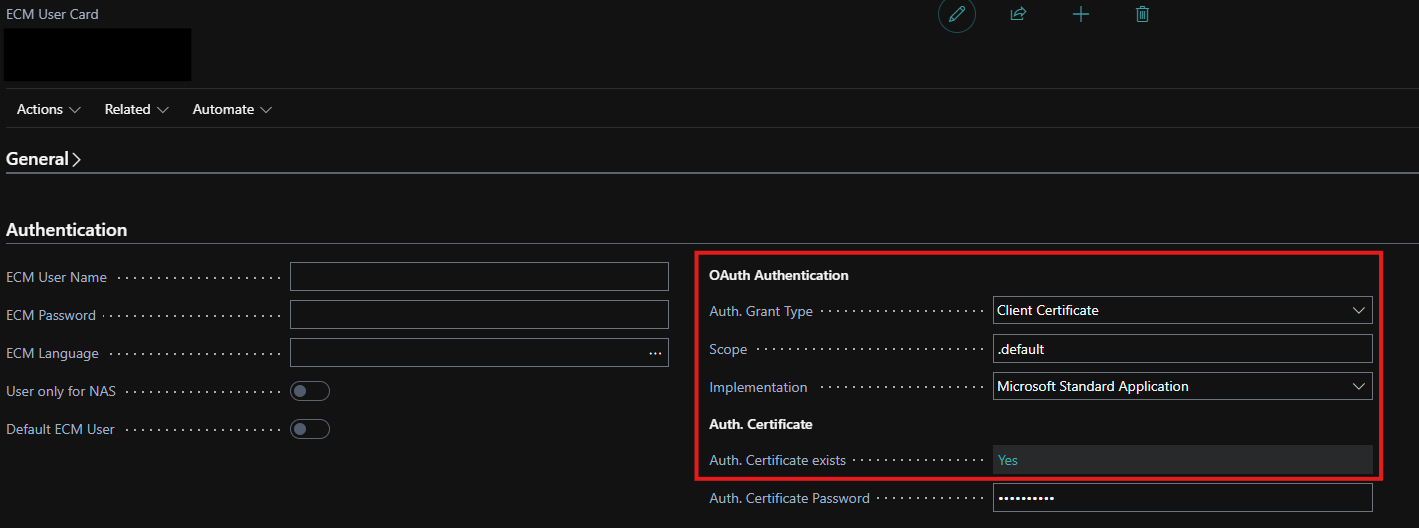
- Auth. Grant Type: Client Certificate
- Scope: .default
- Implementation: Microsoft Standard Application
- Auth. Certificate Exists: Select and upload the certificate (.pfx)
- Auth. Certificate Password: If used, enter password as used in the powershell script